How do I add a grid to a photo online for free?
Choose a JPG, PNG, WebP or iPhone HEIC photo.
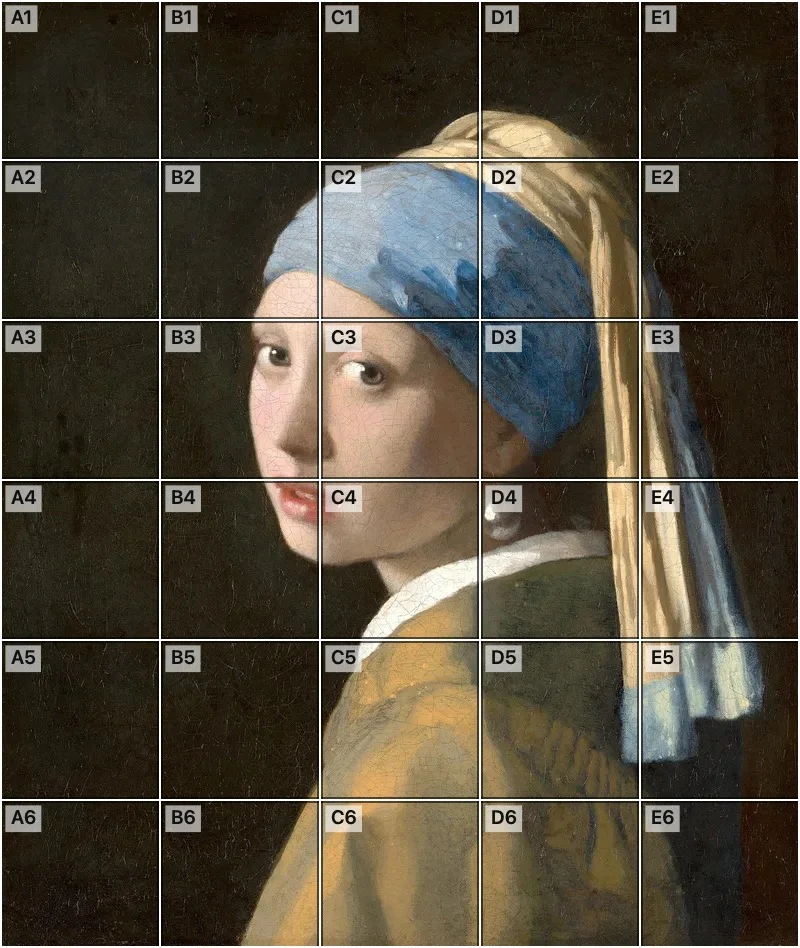
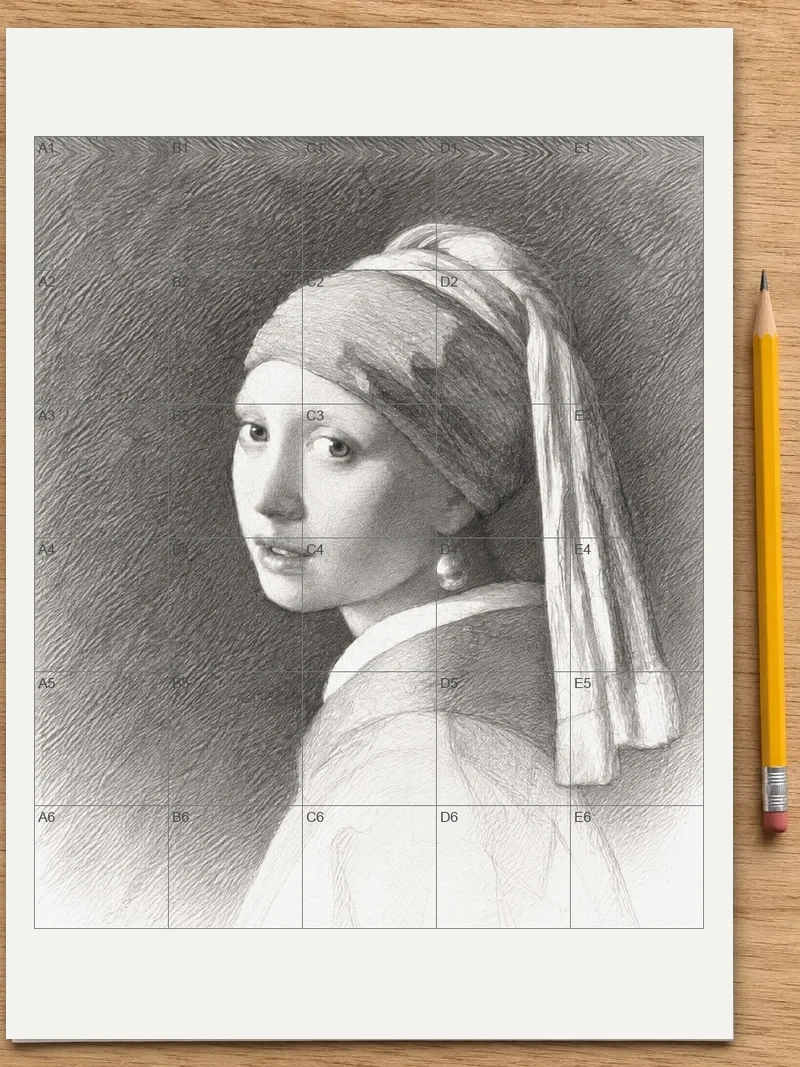
You can add grid to photo online, for free, right in your browser: press “Choose a photo” and a numbered grid of exact squares appears over your picture. Each square has a name like A1, so any spot is easy to find and talk about. Save the gridded picture or print it at true size.
Adding a grid to a photo splits it into small squares you can copy one at a time, which is how artists keep proportions right. Pick Fewer, Medium or More to change how many squares you get, then save the picture or print it.
How to add a grid to a photo
Choose your photo
Press “Choose a photo” and pick a JPG, PNG, WebP or iPhone HEIC picture. On a computer you can drag the photo onto the page.
Pick the number of squares
The numbered grid appears right away at Medium. Switch to Fewer for big, simple blocks or More for finer detail. Tap any square to open it large, then step through with Previous and Next.
Save the gridded picture
On a phone, “Save to Photos” opens the share sheet so you can keep the picture. On a computer, press “Download” to get the file with the grid drawn on it.
Print the photo and the blank grid
Press “Print” to get two sheets at true size: your photo with its grid, and the same grid empty to draw on. Each printed sheet says how wide its squares are. In the print window, choose 100% or actual size.
Who puts a grid over a photo
A grid turns one big picture into many small ones, and that suits several kinds of people.
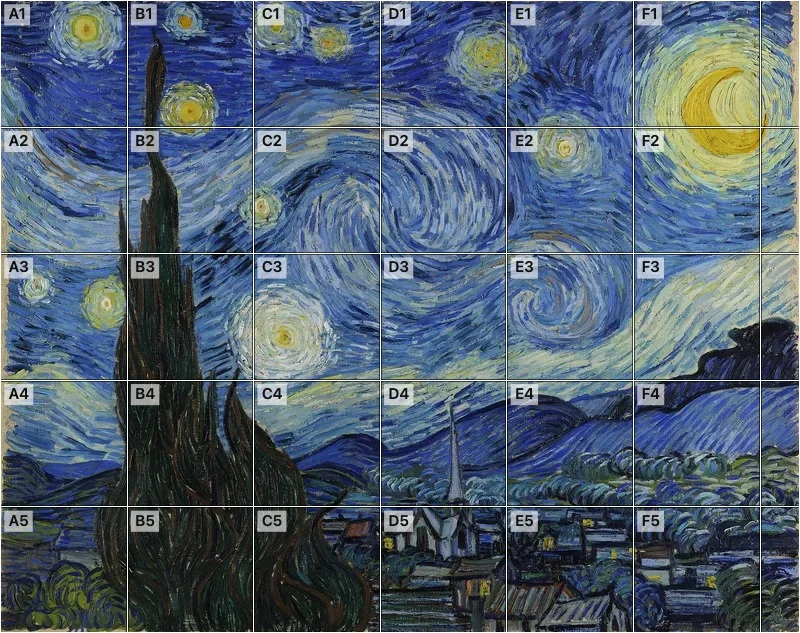
A painter working from a reference photo splits a face or a landscape into squares so each square can be copied alone. A student in a drawing class uses the method to learn proportion, because a small square is far easier to judge than a whole portrait. A hobbyist planning a mural, a cake design or a piece of needlework can sketch the layout on paper first and check the placement before committing to the real surface. A photographer can lay squares over a frame to see where the horizon, a window edge or a subject’s eyes fall.
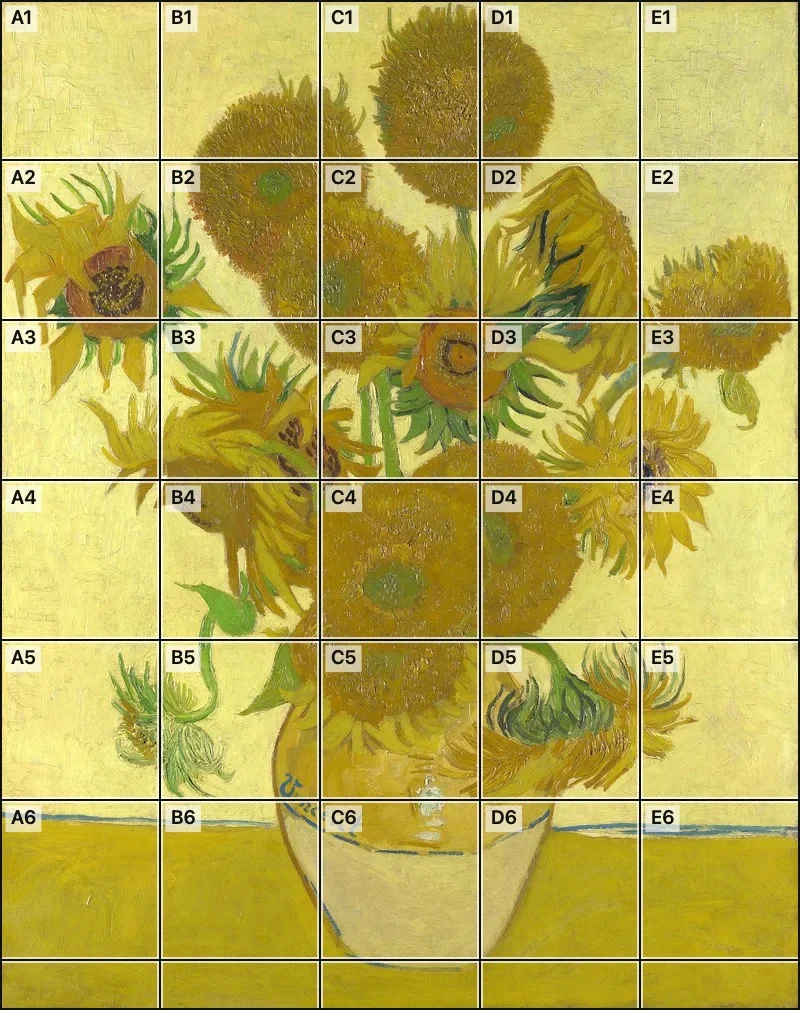
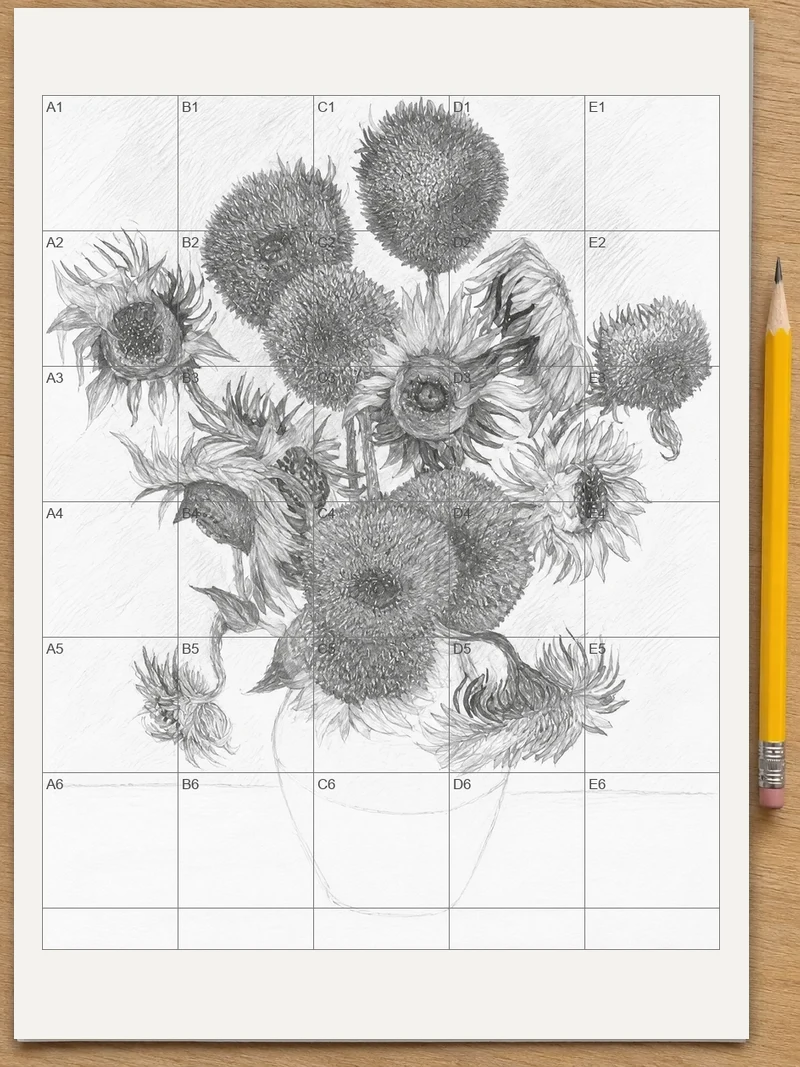
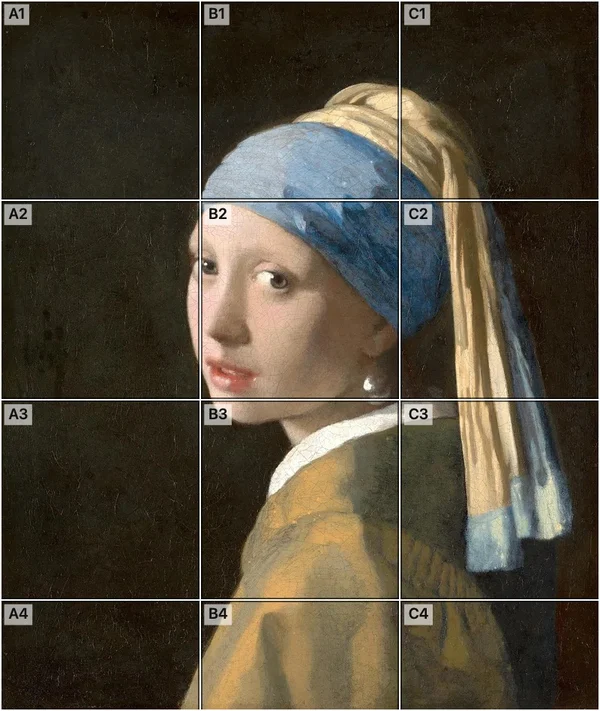
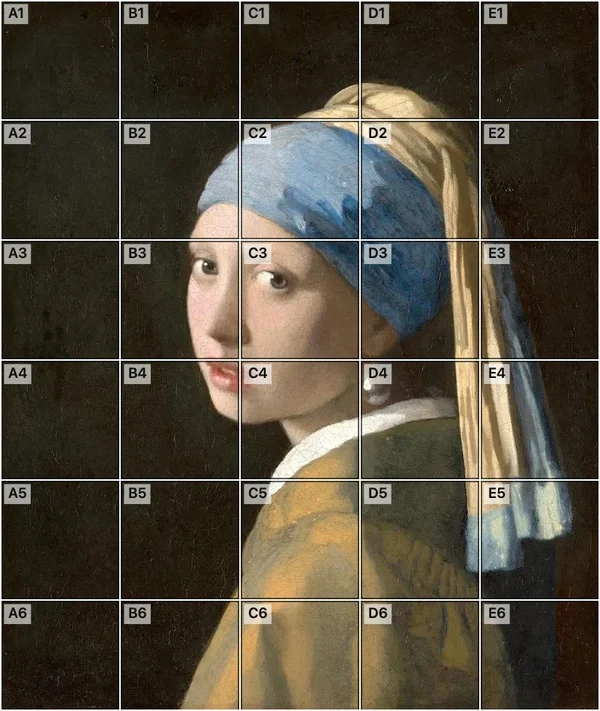
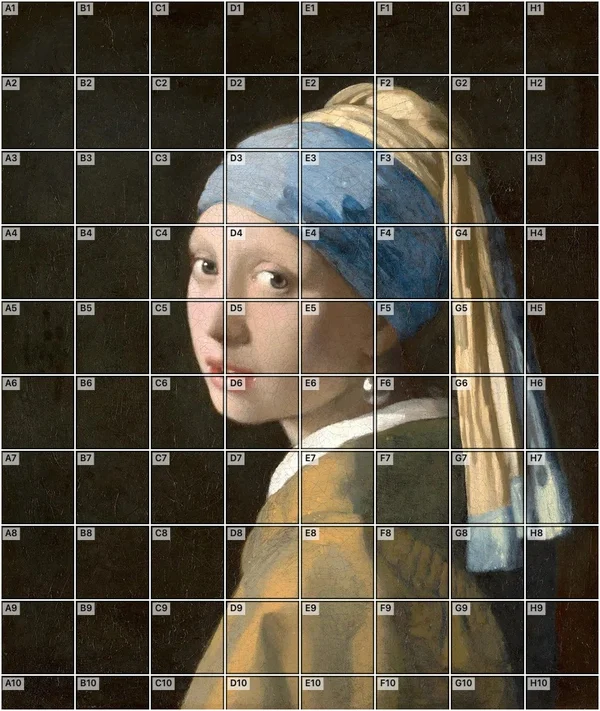
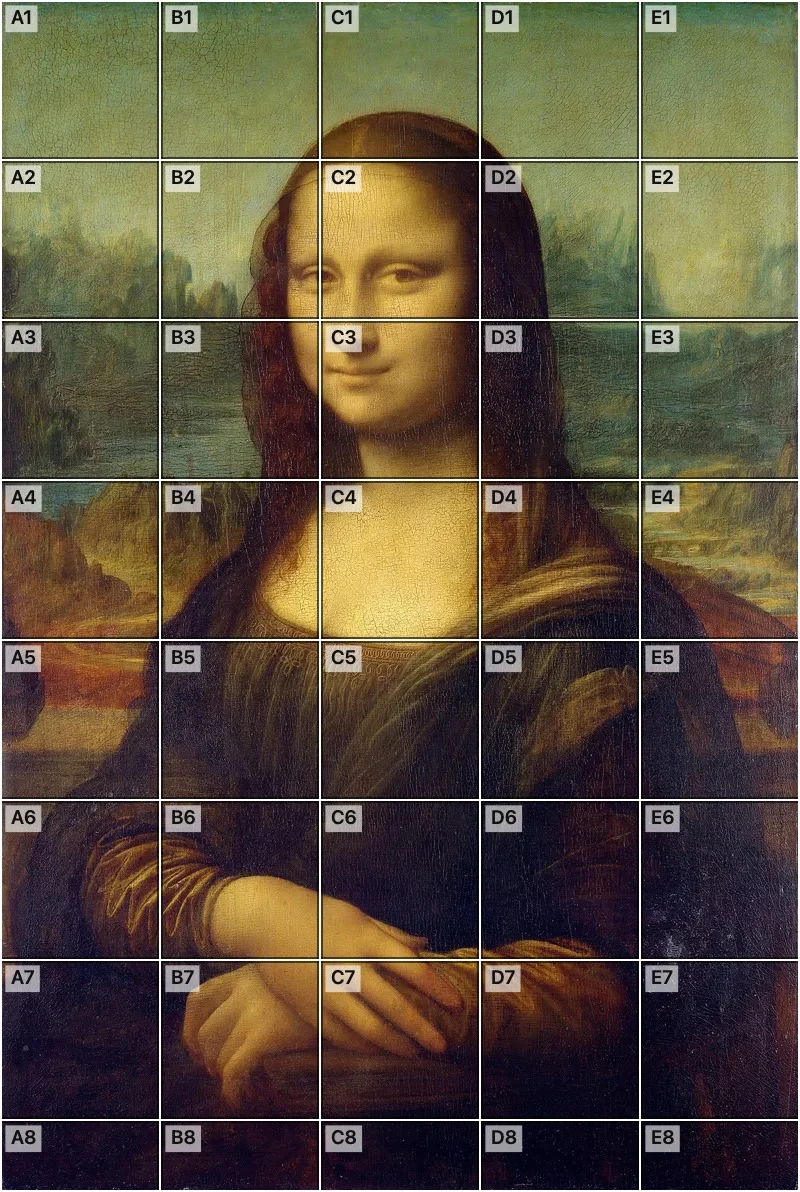
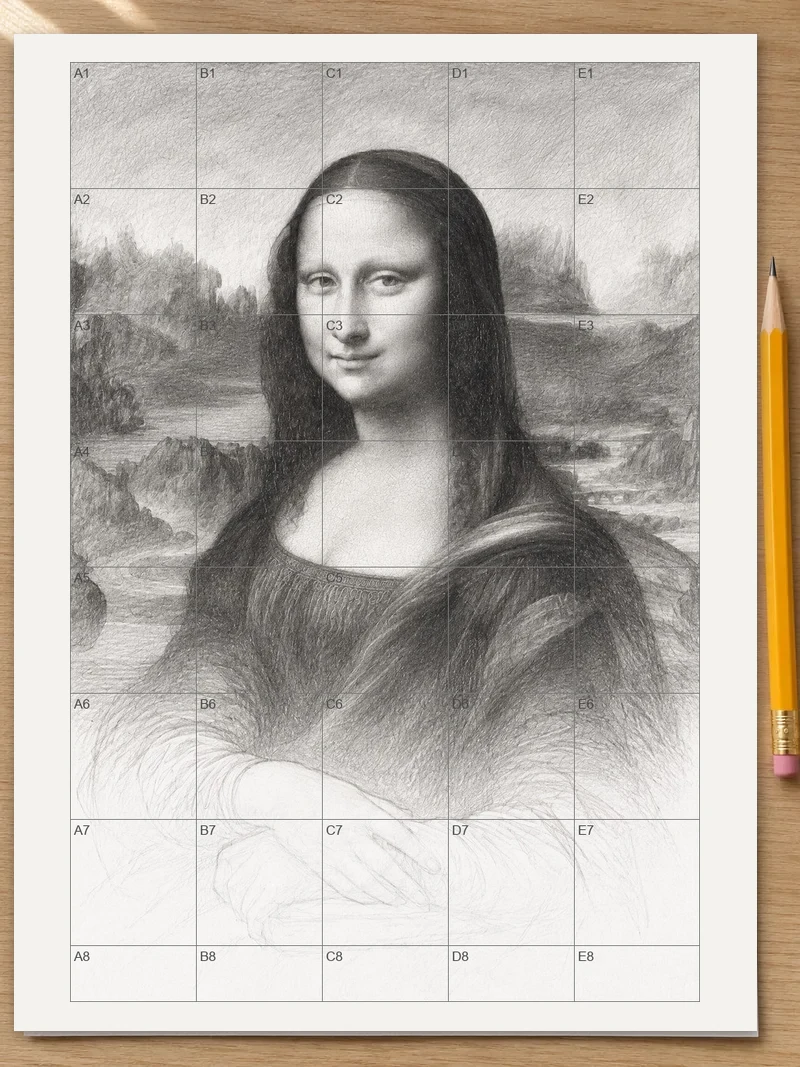
A painting with its grid, and a sample drawing part way through.
Choosing a photo that grids well
A clear photo with a strong subject gives the best result. Before you open it, think about what you plan to copy.
- Pick a picture with good light. Soft shadows and clear edges are easier to follow than a dim, muddy shot.
- Use the largest version you have. A bigger photo keeps its detail when you look closely at a single square.
- Trim away what you do not need. If only the face matters, crop to the face first so the squares are spent on the part you will draw.
- Think about the final shape. A tall portrait and a wide landscape need different paper, so match your drawing sheet to the photo’s shape.
Fewer, Medium or More: what each suits
The number of squares decides how much work each square holds.
Fewer suits a loose sketch, a first block-in of shapes, or a quick check of composition. Big squares make you think about masses of light and dark instead of small details. Medium is a good all-round start for a still life or a simple portrait. More helps when the picture has fine detail, such as a bird’s feathers, a crowded street or a face drawn at a large size.
A useful habit is to start with Medium, look at the result, and move up only if a single square still holds too many shapes to judge by eye.
Using the square names
The names work like map references: a letter for the column and a number for the row. The names make working with another person simple. A teacher can say “look at the eyebrow in C3” and the student knows exactly where to look. In your own notes you can write “darkest shadow, D4” and find it again later.
When you open a square large, Previous and Next move through the squares in reading order, left to right and top to bottom. That is also a natural order for drawing.
Copying a photo onto paper, square by square
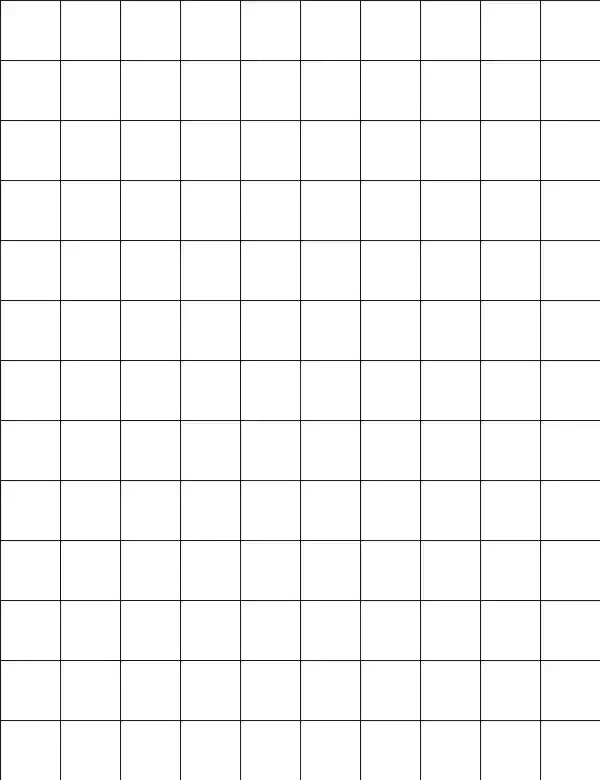
The printed pair of sheets is built for this job. The photo with its grid stays beside you as the reference. The empty grid is your drawing surface.
- Lightly mark the sheet’s edges so you know where the picture ends.
- Start in one corner, such as A1, and draw only what you see inside that square: where a line enters at the edge, where it leaves, and how steep it runs.
- Move across the row before moving down. Matching the places where lines cross a square’s edge keeps neighboring squares lined up.
- Leave shading until the outlines are done. Light pencil is easy to erase when a line lands in the wrong square.
- When the drawing is finished, keep the printed lines for a study sketch. Printed lines do not erase, so for a clean result rule your own grid in light pencil and erase it at the end.
If you want a bigger drawing than one sheet allows, work on larger paper. Rule matching squares yourself and copy square A1 into the first square of your own grid. The same names still apply, and the proportions stay true as long as your squares are exactly square too.
Preparing your drawing surface
Good paper makes the copy easier. Smooth paper takes thin pencil lines and erases cleanly, while rough paper hides faint grid lines. If you rule your own grid on a larger sheet, draw it very lightly with a hard pencil and a straightedge, and measure each square from the same starting corner so errors do not add up.
For work on canvas or a wall, many artists tape the printed photo beside the surface and mark the grid with chalk or a soft pencil. Squares drawn on the real surface can be wiped away after the main shapes are in place.
Ways to use the gridded picture besides drawing
A gridded photo works well on screen too. Send it to a friend and point to a square by name when you give feedback on a drawing in progress. Share a gridded reference with a class so everyone starts from the same squares.
On a phone, you can keep the picture in your photo library and zoom into one square at a time while you draw at an easel. A tablet propped beside the paper works the same way and needs no printing at all.
Checking your drawing against the photo
Halfway through, compare the squares. Hold the drawing and the reference side by side and look at one square pair at a time: is the edge of the cheek at the same height, does the curve leave the square at the same point? A mistake found in B2 is a small fix. A mistake found after the whole sheet is drawn can mean starting again.
Another habit is to turn both pages upside down. Seen this way, the shapes stop looking like a face or a tree and start looking like lines, and errors in proportion stand out clearly.
FAQ
How do I add grid lines to an existing photo?
Open the photo with “Choose a photo” and the grid is drawn over it right away. There is nothing to install and no account to make. Choose Fewer, Medium or More for the number of squares, then download the picture or print it.
How do I add a grid to an iPhone photo?
Open this page in your iPhone browser, press “Choose a photo” and pick the picture. iPhone HEIC photos open, and a photo taken sideways comes out the right way up. Then press “Save to Photos” to keep the gridded picture.
What file formats are supported?
JPG, PNG, WebP and iPhone HEIC photos all open. The saved file is a JPG, or a PNG if your photo was a PNG. It keeps the photo’s full size, up to 16 megapixels, so detail stays sharp for printing or zooming. Under “Adjust grid” you can also choose JPG, PNG or WebP.
Is the grid permanently added to the image?
The grid is drawn into the file you save, so the saved picture shows it. Under “Adjust grid”, Blank grid saves the empty grid as its own picture, which is handy for tracing or sketching. Pressing “Choose another photo” starts over with a new picture.
Is my photo uploaded anywhere?
No. The photo is read and drawn inside your browser and stays on your device. That holds on phones, tablets and computers alike, so you can use private pictures such as family portraits or reference shots without sending them anywhere.
What line colors can I use?
Any color. The tool starts with one that suits the photo: dark lines on a light photo, white lines on a dark photo, each with a soft outline. Under “Adjust grid” you can pick black, white or any other color, and change the thickness and opacity.
How do I create evenly spaced grid lines?
Evenly spaced squares come automatically. With Fewer, Medium or More, every square is exactly square. If the photo does not divide evenly, the last row or column is a part-square. Fewer gives 3 squares across the short side, Medium gives 5 and More gives 8.
Can I check composition with a grid over my photo?
Yes. Fewer puts 3 squares across the short side of the photo, so the lines fall in thirds along that side. You can see where a horizon or a face sits. Tap a square to look at it large.
How big will the squares be on paper?
Each printed sheet states the width of its squares, for example 1.48 inches. To see it before printing, open “Adjust grid”. Paper is Letter or A4 based on your browser’s region, you can change it under “Adjust grid”, and the sheet turns to match your photo.
Where can I get plain grid paper instead?
The grid paper page offers one printable sheet with Small, Medium or Large squares. On Letter paper the squares are 1/4 inch, 1/2 inch or 1 inch. On A4 they are 5 mm, 1 cm or 2 cm.