How do I put a grid overlay on my photo?
Press “Choose a photo” to see the grid overlay on it.
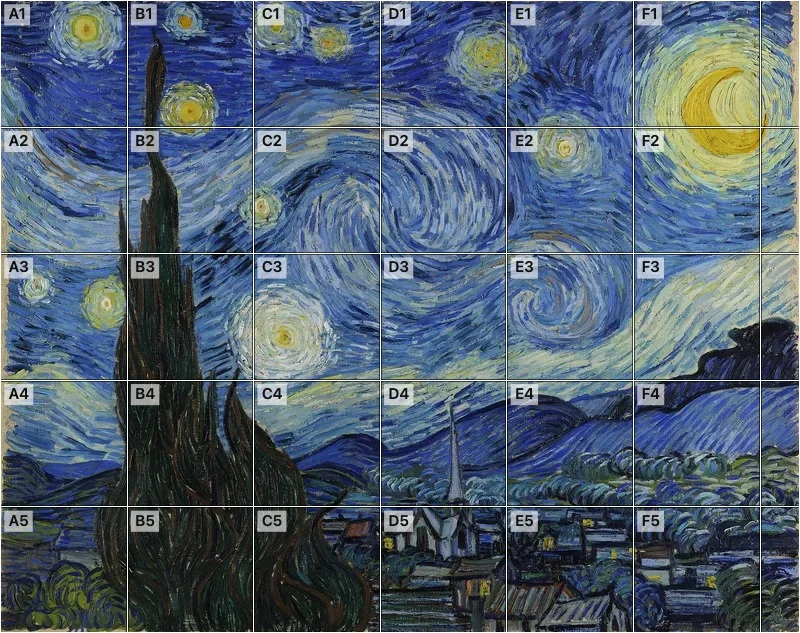
To put a grid overlay on a photo, choose the photo and thin, evenly spaced squares appear on it right away. Fewer, Medium and More set how many squares cross the photo, then save the result or print it. The lines come in a color that suits the photo, so they stay visible on bright and dark areas alike.
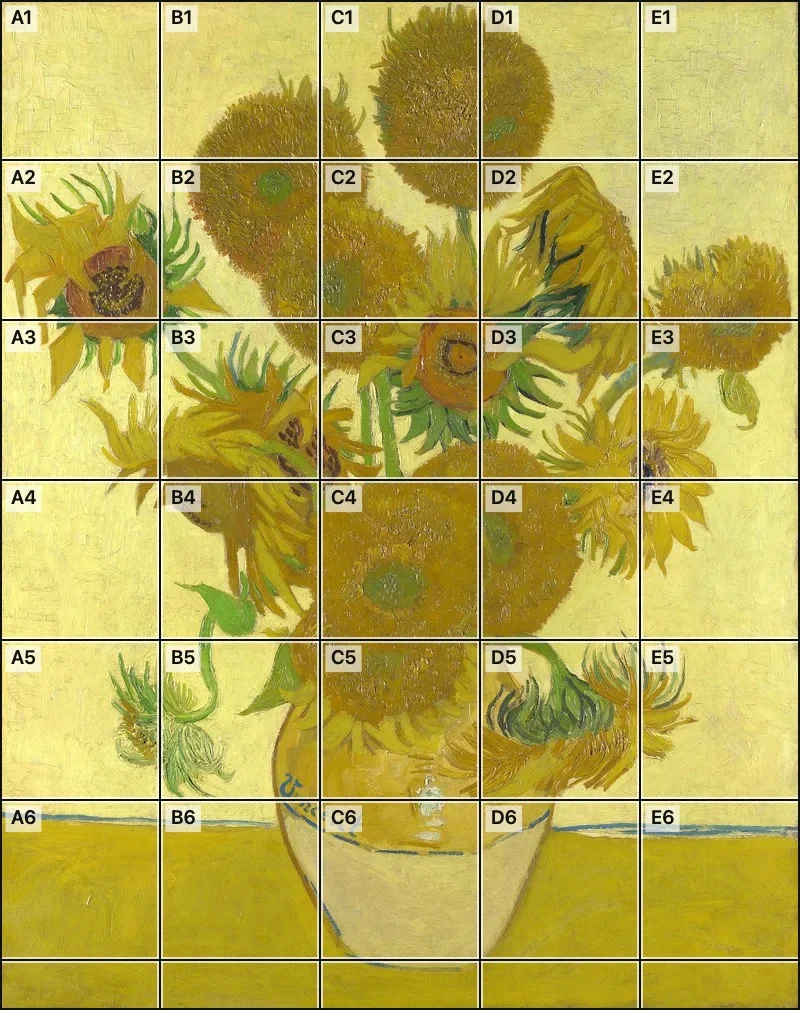
A grid overlay lays evenly spaced squares over a photo so you can judge proportion, composition and position. Medium starts with 5 squares along the shorter edge, Fewer gives 3 and More gives 8.
How to put a grid overlay on a photo
Choose a photo
Press “Choose a photo” and open any picture from your device; JPG, PNG, WebP and iPhone HEIC all work.
Look at the grid
The grid overlay appears on the same page, starting at Medium. Switch to Fewer for larger squares or More for smaller ones until the squares suit your photo and your purpose.
Save the picture
A phone offers “Save to Photos”, which brings up the share sheet for keeping the image. A computer offers “Download”, which gives you the file with the lines drawn into it.
Print it if you want paper
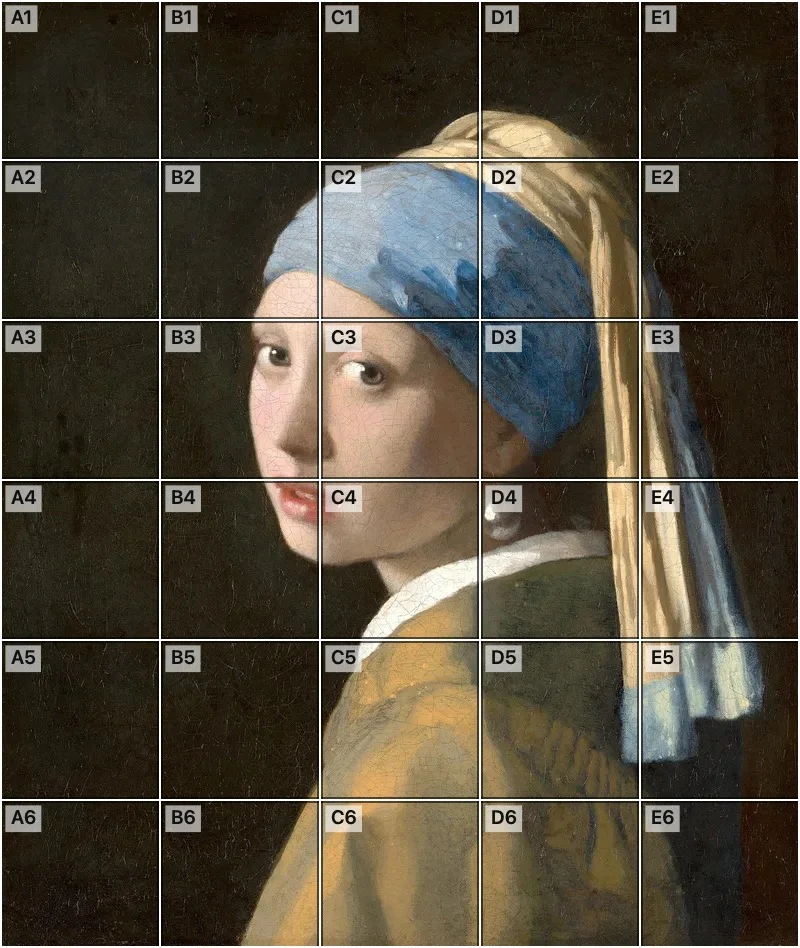
“Print” makes two true-size sheets: the picture under its lines, then those lines alone on an empty page for drawing. Each sheet states the width of its squares.
Who puts a grid over a photo
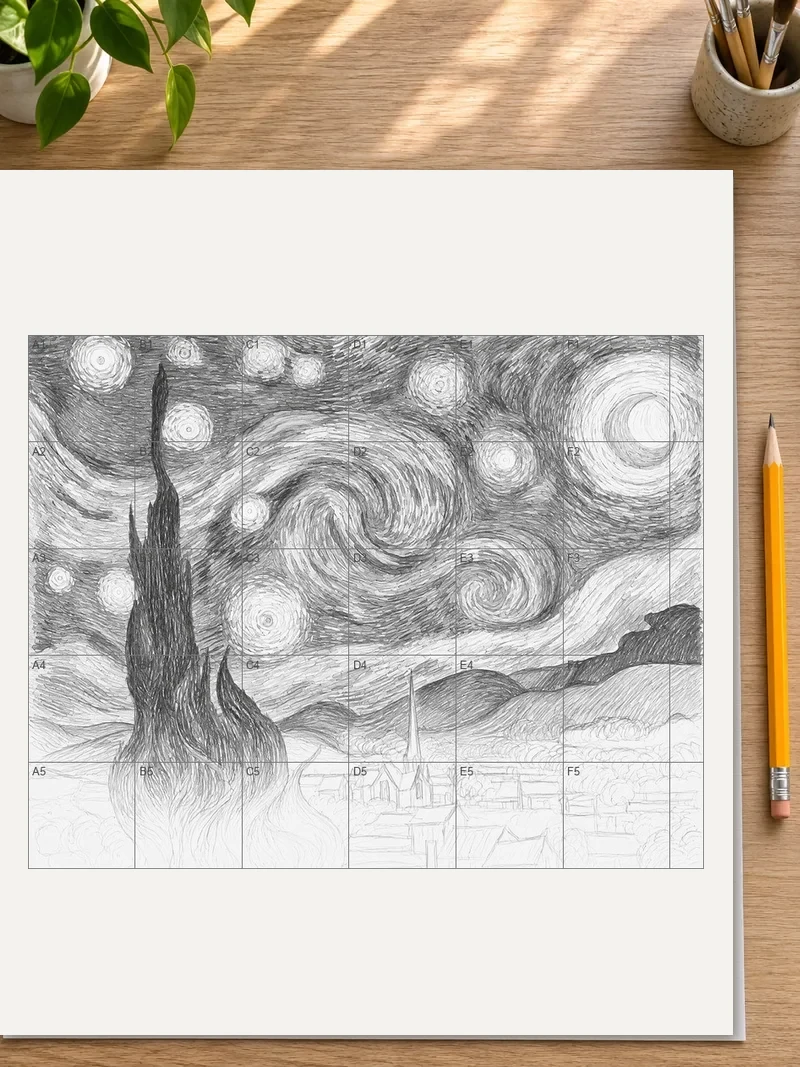
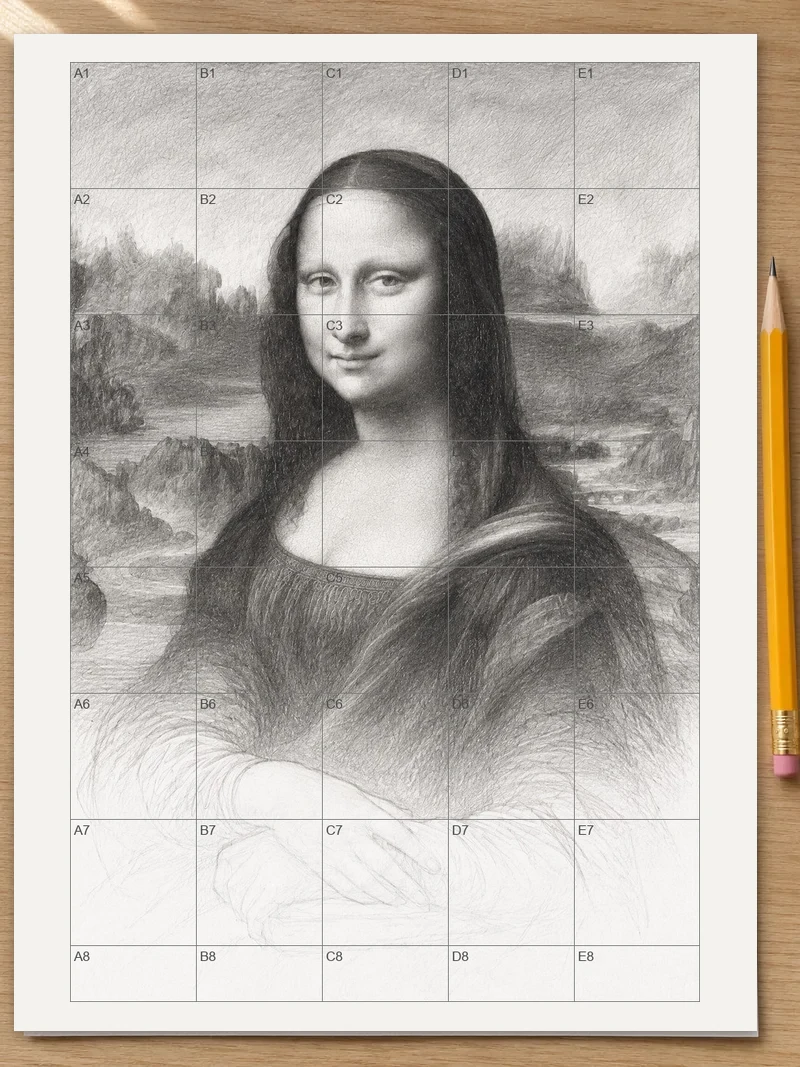
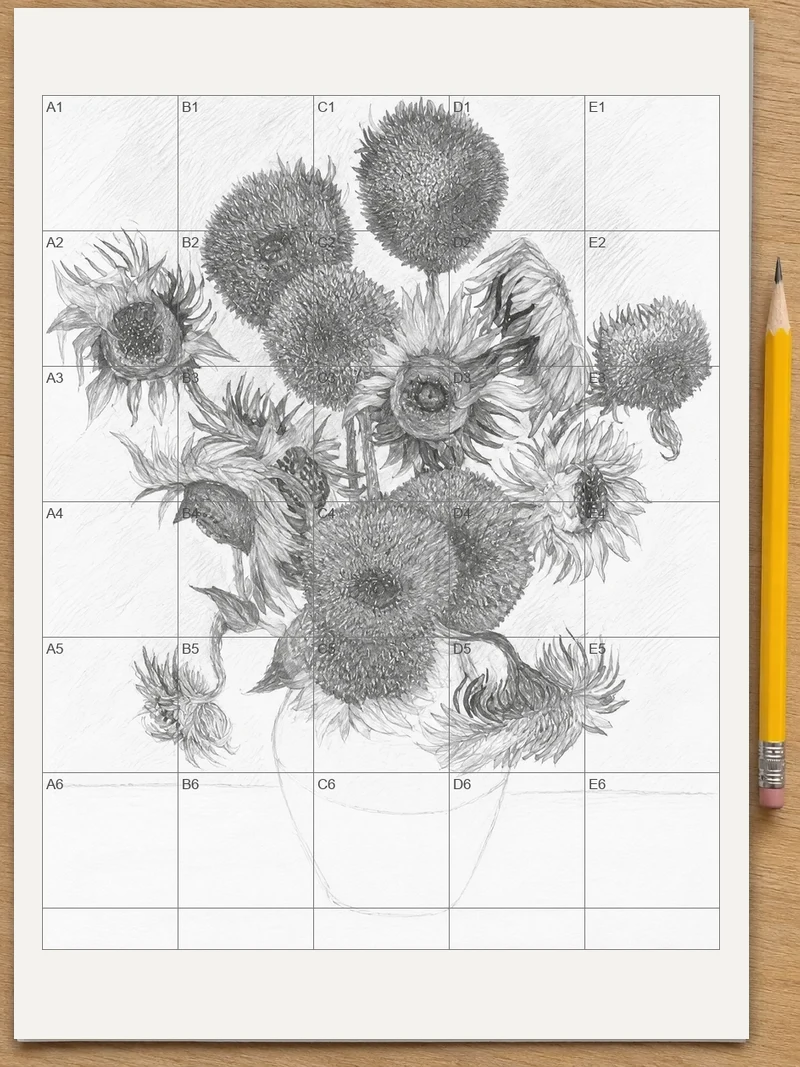
Painters use squares to move a photograph onto a larger surface without losing the proportions. Illustrators use them to keep a face or a building from drifting while they work from a reference. Photographers use the same lines to look at where a horizon sits or whether a subject leans. Teachers hand out a gridded picture and an empty grid so a class can copy square by square.
A painting with thin grid lines over it, beside a pencil copy that is part finished.
Preparing the photo
A grid shows the most when the photo itself is clear. Before choosing, look for a picture with a plain subject and good light, because shadows that merge into black are hard to copy square by square. Crop away anything you will not draw. A tight crop means every square holds more of what matters, and empty margins only waste squares.
Choose a photo close to the shape of the surface you will draw on. A tall photo copied onto a wide sheet forces you to stretch or crop later, so settle the shape first. Pick a photo with a level horizon, since a crooked reference makes every square crooked with it.
Moving a photo onto a bigger canvas
The grid method works because each small square on the photo matches one larger square on the canvas. Draw a matching set of squares on the canvas, lightly, in pencil or chalk. Then work one square at a time: note where a line enters the square, where it leaves, and what it crosses on the way.
Start with the biggest shapes. Place the outline of a head, a roof or a hillside across several squares, and leave the small details for later. When each square holds only a few lines, copying becomes a series of small, easy decisions rather than one large guess.
If a drawing starts to look wrong, compare one row at a time. A mistake usually sits in a single square, and the neighbors on either side show where the line should have gone. Work from top to bottom, or finish a whole column before moving on, so you never lose your place.
Choosing between fewer and more squares
Large squares suit loose studies, quick thumbnails and rough planning of where the big masses go. Small squares suit portraits and detailed scenes, where the exact position of an eye or a window matters. A busy photo with many edges usually asks for more squares, while a simple landscape rarely needs them.
Checking composition with squares
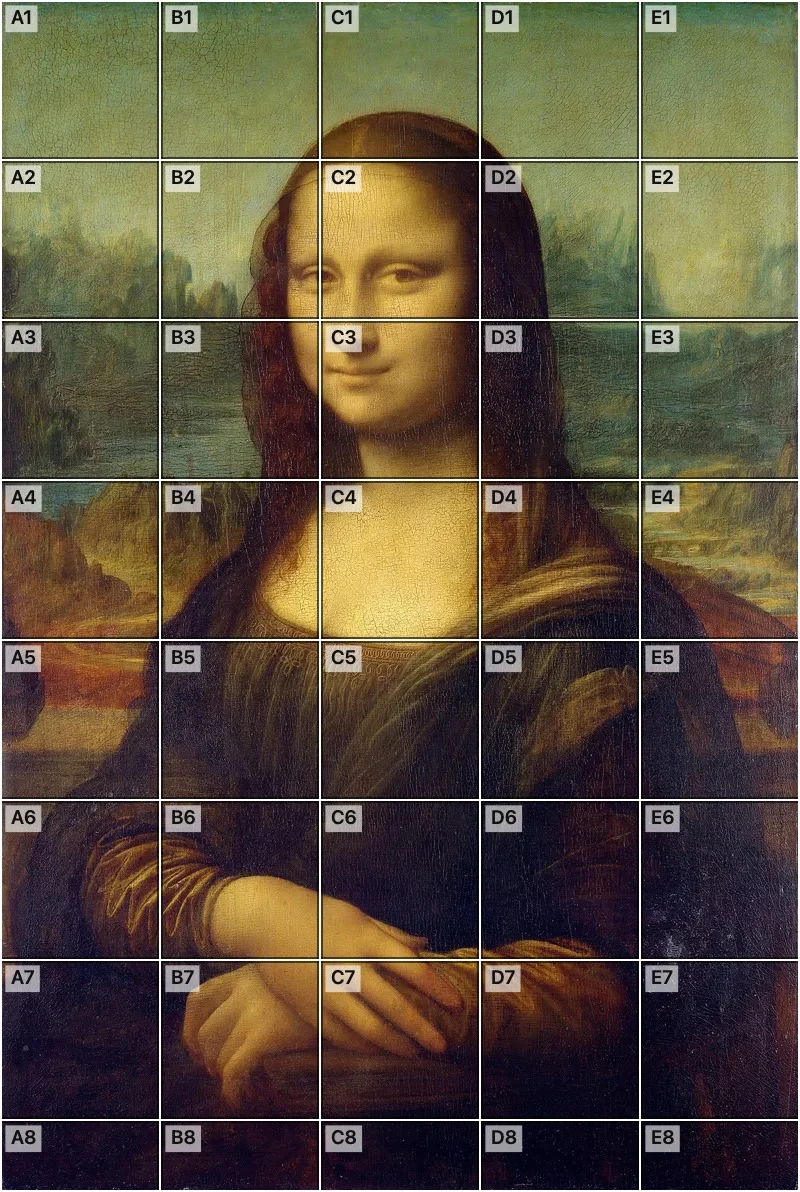
Photographers can read a gridded picture the way an editor reads a layout. Look at where the horizon falls against the lines, and whether it sits near one of them or drifts through the middle of a square. Check whether the eyes of a portrait land close to a line crossing, and whether a building’s edge runs along a vertical line or leans away from it.
Compare two versions of the same shot by putting the grid over both. Small shifts in framing become obvious: a subject that sits a half-square too far left, or a gap above a head that is larger than the gap below the chin. The squares also help when a photo will be cropped later, because they show how much room is left on each side.
Other everyday uses
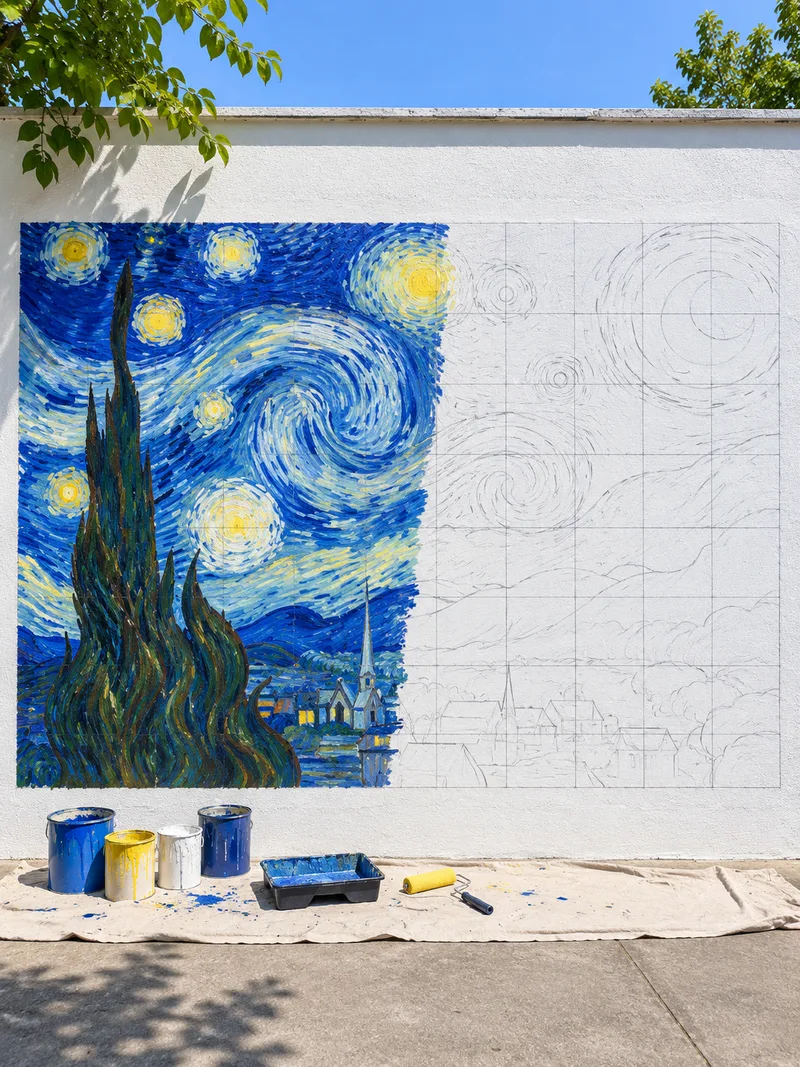
- Planning a mural or a large sign. Squares on the photo and squares on the wall let several people work on separate parts and still end up with one picture.
- Learning proportion. Beginners often see a nose that is too long or a window that is too wide. A grid gives a fixed measure to compare against.
- Handcraft patterns. A gridded picture helps when planning a design in beads, stitches or tiles, where each square becomes one unit.
- Class handouts. A printed photo with its grid next to a blank grid gives students a clear copying exercise.
Getting the best from the printout
A printed sheet is only useful if the squares are read at true size. Check the printed width of one square against a ruler before you draw, so you know the sheet came out as expected. Tape the photo sheet next to your drawing surface at eye level and keep the empty grid directly in front of you.
Work in light pencil first. The empty grid is meant to be drawn on, so build the whole composition lightly and strengthen lines only when each square matches the photo. Printed lines do not erase, so for clean final work draw on tracing paper laid over the empty grid, or rule your own grid in light pencil.
A short routine for each session
Begin by scanning the photo for the three or four largest shapes and placing them first. Move to the main edges inside those shapes. Add the darkest areas next, then the lightest, and leave texture for the end. Step back from the work at regular intervals and compare it with the photo from a distance, because errors that hide up close often show clearly from across the room.
FAQ
Is there a free way to add a grid overlay to a photo online?
Yes. The tool is free, adds no watermark and asks for no sign-up. Press “Choose a photo” and the grid overlay appears on the same page. It works in the browser on phones, tablets and computers, so there is nothing to install.
What photo file formats can I use?
JPG, PNG, WebP and iPhone HEIC photos open in the tool. Sideways shots turn upright by themselves, so there is nothing to fix first.
Can I choose how many squares are in the grid?
Yes. The short side of the photo gets 3 squares on Fewer, 5 on Medium and 8 on More, and Medium is the starting size. For an exact number, open “Adjust grid” and fill in columns or rows, up to 100. Fill in one and squares stay exactly square. Fill in both and you get that exact grid, so squares follow the shape of the photo.
What happens when the photo does not divide evenly into squares?
The last row or column becomes a part-square. Every full square keeps the same size, so the lines stay true to the grid. Only the edge of the photo is cut by a partial square, which is normal for a grid over any photo shape.
Can I use the grid overlay on my phone?
Yes. The tool runs in a phone browser, and “Save to Photos” opens the share sheet, where the picture can be saved. If you start on a computer, a code on the page opens the same tool on your phone.
Is the grid permanently added to the saved image?
The saved picture contains the grid lines. You get a JPG, or a PNG when you started from one, as large as the original up to 16 megapixels. The file type menu in “Adjust grid” also offers WebP. Keep your original photo file if you also want a copy without lines.
Can I print the grid overlay?
Yes. “Print” gives two true-size sheets: the picture with its lines, then those lines alone on an empty page. The paper is Letter or A4 to suit your browser’s region, and “Adjust grid” lets you switch. A wide photo prints sideways. Each sheet states the width of its squares.
Can I use it to check the rule of thirds?
Fewer divides the short side of the photo into 3 squares, which gives thirds in that direction. On a square photo, thirds run both ways. On a wider photo, the long side holds more squares, since every square stays exactly square.
Related tools
- Add grid to photoAdd grid to photo in your browser, with no sign-up and no watermark. Get a numbered grid over your picture, then save it or print it at true size.
- Printable grid paperGet printable grid paper with Small, Medium or Large squares. Print a sheet on Letter or A4 paper, free, with no sign-up.