How can I make a block poster from my photo?
Choose a JPG, PNG, WebP or iPhone HEIC photo from your device; it is not uploaded.
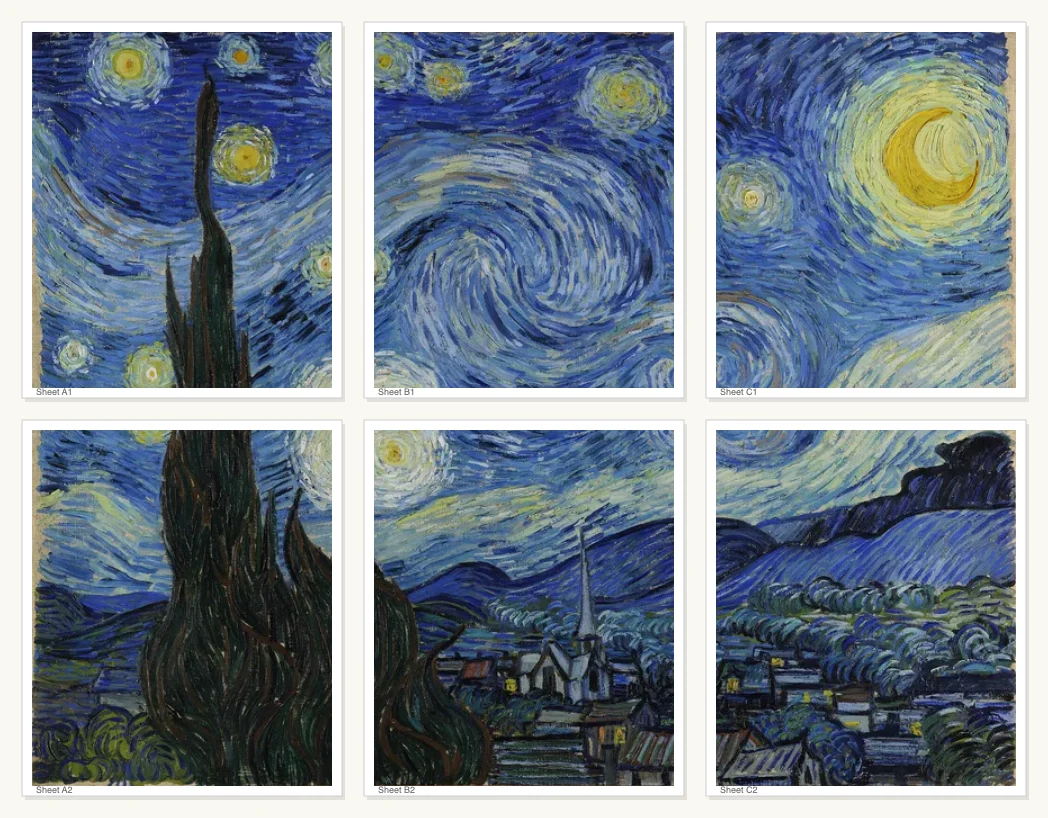
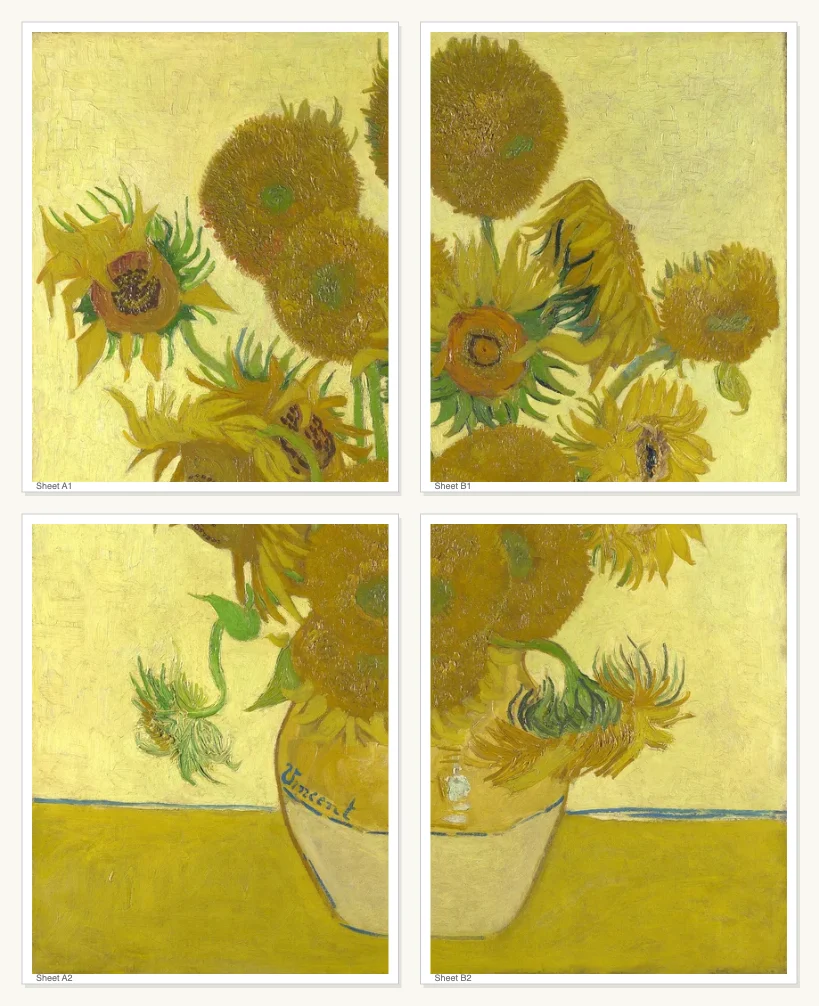
To make a block poster, choose a photo and pick how many sheets wide the poster should be. The page splits the picture into sheets that print on a regular home or office printer. You see the sheet count, the finished width and how sharp the photo will look on paper. Save the PDF, print the sheets, and tape them together into one large poster.
A block poster is one picture printed over several sheets of paper that you join into a big poster. Choose a photo, set the sheets across or type a poster width, and save the PDF. The free PDF covers up to 2 by 2 sheets, and neighboring sheets share a narrow strip so they line up when taped.
How to make a block poster
Choose your photo
Press “Choose a photo” to open your pictures, or on a computer drop the file onto the page. The poster choices are already open.
Set the poster size
Set “Sheets across” or type a “Poster width” in cm or inches. The line under it shows the number of sheets, the poster’s width and roughly how sharp the photo will print.
Add grid lines if you want them
The photo prints plain at first. Select “Print grid lines on the poster” if you want a grid over it, for example to draw or paint the poster square by square.
Save the PDF and print
Save the PDF, then print every sheet. Print each sheet at 100%, which some printers call actual size, so the seams meet without gaps.
Pick a photo that survives enlarging
Look for the largest, sharpest version of the picture you own. A photo straight from a phone camera or an original file holds up better than a copy sent through a chat app. The same goes for a copy saved from a website. Before you choose it, zoom in on the face, the lettering or the edge that matters most. If it looks soft on your screen at full zoom, it will look soft on a wall.
Simple pictures enlarge best. A portrait against a plain wall, a landscape with a clear horizon or a pet photographed in daylight keeps its character at poster size. A busy group photo with small faces in the back needs more resolution than a close-up of one person.
A wide picture on 3 by 2 sheets, each sheet named by its place.
Decide where the poster will hang first
Measure the wall space before you touch the size choices. Note the width you have, and leave a gap on each side so the poster does not touch a door frame or a bookshelf. Then type that width into the poster width box and look at the sheet count. If the count is more than you want to print and tape, reduce the width a little and check again.
A few common places and what suits them:
- a bedroom wall above a desk suits a modest width, seen close enough to read details
- a classroom bulletin board needs a width that fits the board without bending over the edges
- a hallway or stairwell takes a wider poster seen from a distance, where small softness does not show
- a party backdrop suits a wide landscape photo that fills the space behind a table
Match the sharpness figure to the viewing distance
The pixels-per-inch figure tells you how closely the poster can be viewed. A high figure means you can stand next to it and still see clean detail. A low figure means the picture is meant to be seen from across the room. A poster over a sofa is seen from a few steps back, so a lower figure is fine. A poster beside a desk is seen from arm’s length, so aim higher.
If the figure is lower than you like, reduce the poster width. Or go back and choose a larger version of the photo.
Set up the printer before the first sheet
Before printing, find the scale option among your printer settings. Turn off any option named fit to page or shrink to fit. A printer that quietly shrinks each sheet by a few percent leaves gaps between the sheets and breaks the shared strip.
Print a single sheet first and look at the edges. Many home printers leave a thin unprinted border, and you want to know how wide it is before you print the rest. Use the same printer and the same paper for every sheet of one poster, so the tones match across the seams.
A tall picture on 2 by 2 sheets, the size of the free PDF.
Keep the sheets in order
As each page comes out of the printer, write its row and position lightly on the back in pencil. For example: top row, second from the left. Stack the pages in reading order. This takes a minute, and it saves a long guessing game when a sky looks the same on four sheets.
Lay the sheets out on a clean floor or a large table in the shape of the finished poster. Step back and check that the picture runs continuously before you attach anything.
Join the sheets with clean seams
Work from the top row down. Lay the shared strip of one sheet over its neighbor and slide until the picture matches across the seam. A roof edge, a collar or a horizon line should continue without a step. Tape the back of the seam first so the join holds while you adjust the front.
A straight ruler and a sharp blade help if you want the strip trimmed off one sheet so the edges sit flat. Cut on a mat, not on the table. Trim only the sheet that lies on top, and trim along the ruler in one steady pull.
Once each row is joined, join the rows to each other the same way. Check the long horizontal seams against a ruler or the edge of a table. A small slant in one row shows clearly across the whole poster.
Lay the sheets out in order before you tape them.
Use the grid lines for drawing and painting
Tick the grid option when you plan to copy the picture by hand. Painting a mural on a wall or a large canvas goes faster when the reference is already divided into squares. You copy one square at a time instead of judging the whole scene by eye. Give each helper a row, and everyone stays in the right place.
For a school project, print one plain poster for the wall and one with the grid lines for students. The class can compare the drawing to the original as they go.
Mount it so it lasts
Matte paper and a flat wall give the best result. Fix the poster to the wall with tape that comes off cleanly, placing it at the top corners first and then the middle. For a poster that will stay up for months, mount the joined sheets on foam board or thin card cut to size. The seams then stay flat and the corners do not curl.
FAQ
Is the block poster maker free to use?
Yes. A PDF of up to 2 by 2 sheets at 150 dots per inch is free, with no sign-up and no watermark. Larger posters, 300 dots per inch, cut marks, overlap lines, mirror and ink saver come with Pro.
Does my photo get uploaded to a server?
No. Your browser does all the work, and the photo never leaves your device. Nothing is sent anywhere, so a family picture or a client’s image can be turned into a poster without leaving your phone or computer.
Is there anything to download or sign up for?
No. The poster is made right in the browser, so a phone works as well as a laptop. Choose a photo here and the poster settings open with it. There is nothing to download first and no account to create.
What image file types can I use?
The poster maker takes JPG, PNG and WebP files as well as HEIC photos from an iPhone. A photo taken sideways is turned the right way up automatically, so the poster follows how the picture looks on your screen.
What paper sizes are supported?
The poster starts on Letter or A4 to suit your region, and each sheet turns to follow the photo’s shape. Under “Adjust grid” you can switch between Letter, A4 and A3 if your printer takes the larger sheet.
Can I choose how big the finished poster is?
Yes. Type a poster width in cm or inches and the page shows how many sheets are needed and how wide the poster prints. Print the PDF at 100% or actual size so the real size matches that figure.
How do I join the sheets so the picture matches up?
Neighboring sheets share a 6 mm strip of the same picture. Print at actual size, lay the sheets in order, and match the strip on one sheet to the picture on the next before taping.
Is there an overlap margin guide?
The shared 6 mm strip is built into every free poster. Printed overlap lines and cut marks that show where to trim are part of Pro, along with a page showing how the sheets fit together.
How big can I make my poster?
The free PDF goes up to 2 by 2 sheets. With Pro, any number of sheets is possible. The line under the size choices shows how sharp the photo will be, so you can see when a size is too big for it.
Does it work for a school display or a child’s bedroom wall?
Yes. A poster of 2 by 2 sheets suits a classroom wall or a bedroom. Check the grid option and students can color or paint it square by square, then tape the sheets up as one picture.
Updated
Related tools
- 10x10 gridPrint a blank 10x10 grid with 100 squares in three sizes. Add numbers 1 to 100, then print the sheet or save it as a clear PNG.
 4 Quadrant Graph PaperPrint free 4 quadrant graph paper with bold x and y axes, numbered both ways from 0. Pick square size and paper, then save as PDF, PNG or JPG.
- 8x8 gridPrint a free 8x8 grid of 64 squares in your browser. Pick Small, Medium or Large squares, add letters and numbers, then print or save a PNG.
 Add grid to photoAdd a grid to any photo in your browser, with no sign-up and no watermark. Get a numbered grid or a plain grid overlay, then save it or print it at true size.
- Ar TracingInstead of ar tracing with a phone stand, put a numbered grid on your own photo, then save or print it and copy it square by square. Free, no sign-up.
 Aspect Ratio CalculatorUse this aspect ratio calculator to turn a width and height into a ratio like 16:9. You also get the decimal and a resize that keeps the shape.
- Atmospheric PerspectiveAdd a numbered grid to a photo and compare near and far squares to see atmospheric perspective: lighter values, softer color. Free, in your browser.
- Bargue DrawingPractice Bargue drawing from your own photo: add a numbered grid with 5, 8 or 12 squares across, then save it or print a gridded sheet and an empty one.