How do I make a portrait grid from my photo?
Choose a portrait image as a JPG, PNG, WebP or iPhone HEIC file, or drag one onto the page on a computer.
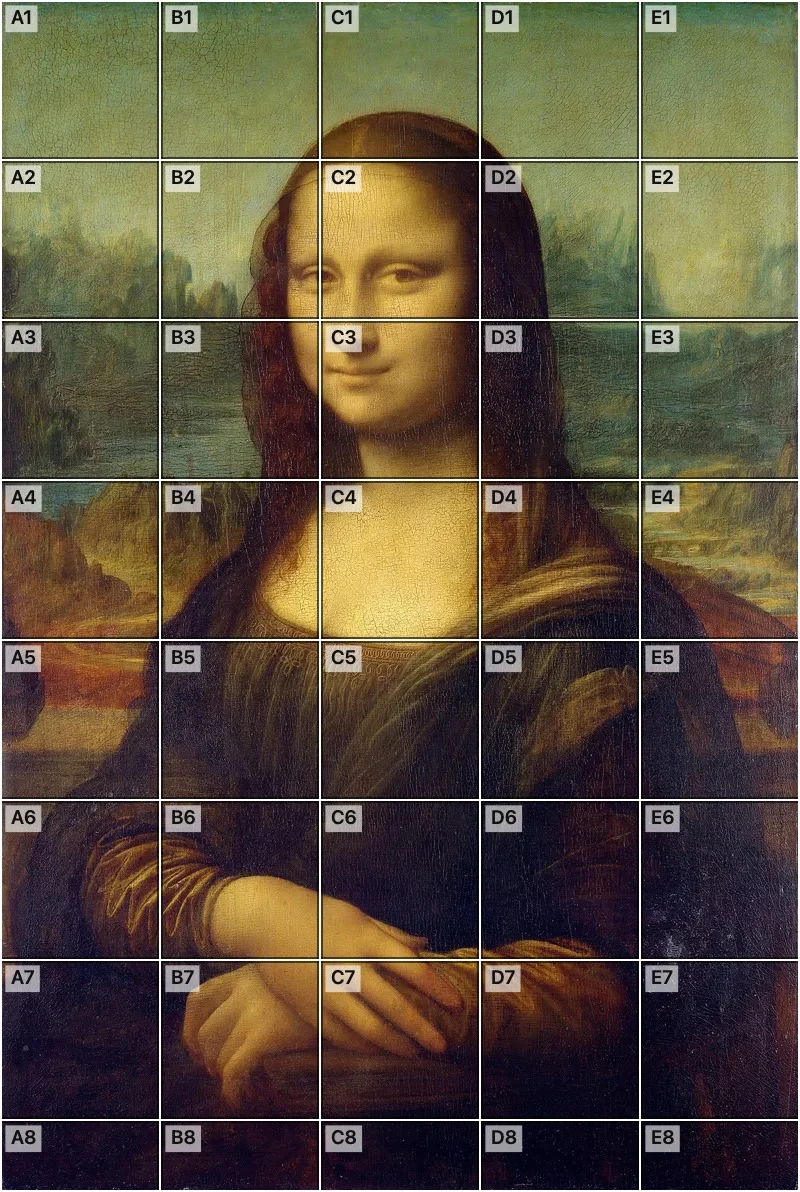
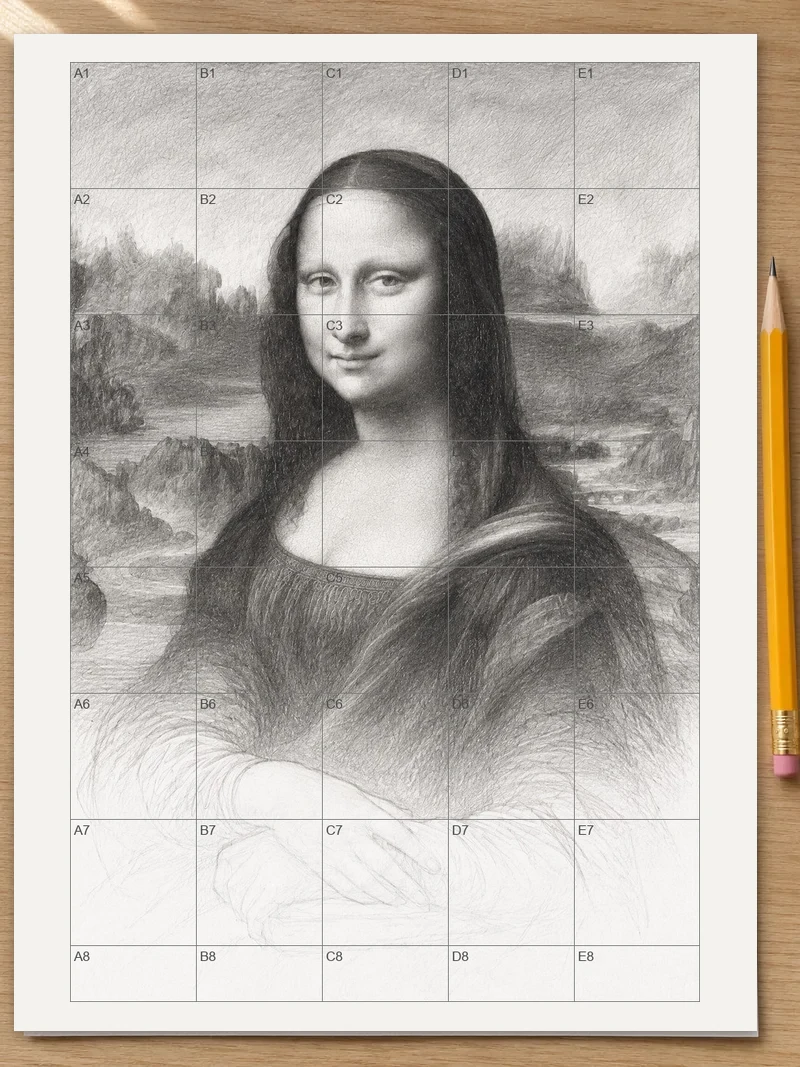
To make a portrait grid, choose your reference photo and the numbered grid appears over it right away. The squares start finer than on a general grid. Each square holds only a small part of the face, so you can copy them one at a time. Save the picture or print it at true size on Letter or A4, with a second sheet of empty squares to draw on.
A portrait grid is a set of equal squares laid over a face photo. You copy the face onto paper one square at a time. Choose the photo here, pick Fewer, Medium or More squares, and print the numbered grid with a matching empty one for your drawing.
How to put a grid on a portrait
Choose your portrait photo
Press “Choose a photo” and then open an image saved as a JPG, PNG, WebP or iPhone HEIC file. Using a computer, you may also drop the photo anywhere on the page.
Pick how many squares
The numbered grid shows at once, starting on Medium with 8 squares across the short side. Switch to Fewer for 5 squares or More for 12 if the face needs finer detail.
Print the two sheets
Press “Print”, then set the scale to 100% or actual size in the print dialog. You get the photo with its grid, then the same grid empty. Each sheet states the square width.
Or save the picture
Press “Save to Photos” on a phone or “Download” on a computer to keep the gridded photo. Tap any square to see it large and step through them with Previous and Next.
Who draws from a portrait grid
Students in a drawing class often use a grid to get a likeness before they trust their eye. A hobbyist working from a family photo uses it to keep the nose from drifting toward the cheek. Someone making a gift portrait uses it to draw the face larger than the photo, with the same proportions. Anyone who has drawn a face that looked “almost right” but wrong will find the squares show where the error started.
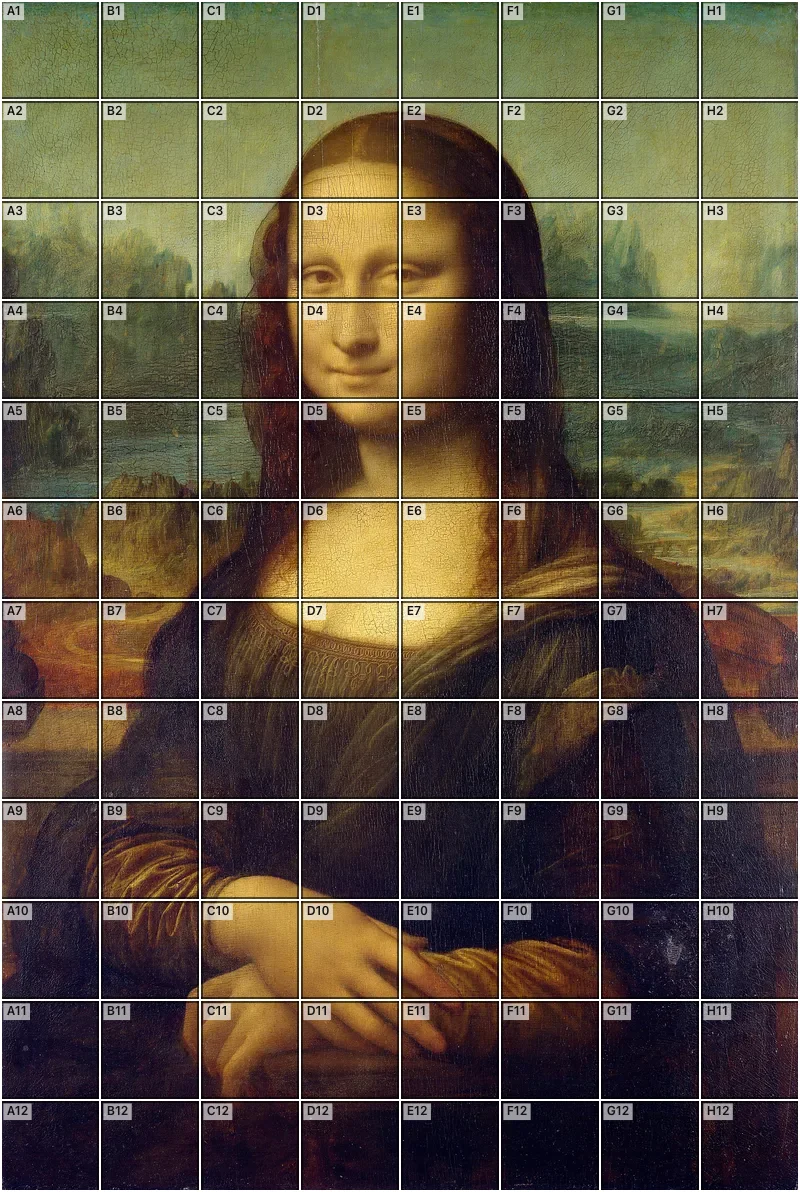
Medium on this page: eight squares across the short side.
Choose a reference photo that works
Pick a photo where the face is clear and the light falls in a readable way. A single, steady light source gives shadows with clear edges, and those edges are easy to copy square by square. Look for a picture where the eyes are sharp and the whole head fits in the frame with a little room around it. Busy backgrounds add squares full of detail you do not need, so a plain wall or soft backdrop saves effort.
Crop before you start if the face is small in the picture. A tight crop puts more of the face into each square, so every square holds a simpler piece of the drawing.
Prepare paper that matches the grid
Use paper large enough for the face at the size you want. If you want the drawing bigger than the printed sheet, draw larger squares on your paper but keep the same number of columns and rows. Every square grows by the same amount, so the whole face keeps its proportions. The shapes inside each square stay where they were.
Rule the squares lightly in pencil with a ruler. Use a hard, pale line you can erase or draw over. Label the columns with letters and the rows with numbers in the margin, as on the printed grid. Then A1 on the photo is A1 on your page. Check the last row and column: if the photo did not divide evenly, they are part-squares, and your paper needs the same part-size there.
Draw one square at a time
Start at A1. If you get lost, go back to a square with a clear landmark, such as the corner of an eye or the jaw line.
Look at where each line enters and leaves the square. Does it touch the left side near the top, or the bottom edge near the middle? Mark those points on your paper first. Join the marks with light lines.
Block in shapes rather than features. A square may hold part of an eyelid and a patch of skin, and you only need the outline of that patch. Move across a row, then down. Resting your hand on a spare sheet of paper keeps it from smudging the squares you have already finished.
Use the half-square lines for tricky places
When a curve crosses a square at an angle, divide the square in your mind into four parts. Half-square guide lines make that division visible. You can then see, for example, that the line leaves the square a quarter of the way down the right side. The pupil, the corner of the lips and the edge of a nostril are common places where this extra precision saves an erase.
Check proportions as you go
Step back after each row of squares. Hold the drawing and the photo side by side and compare the distance between the eyes with the width of one eye. Compare the length of the nose with the gap between nose and mouth. If a feature has drifted, the grid tells you in which square the drift began, so you correct one area rather than redraw the face.
Turn both pictures upside down once in a while. A turned face stops looking like a face and becomes shapes, which makes errors in angle and spacing easier to spot.
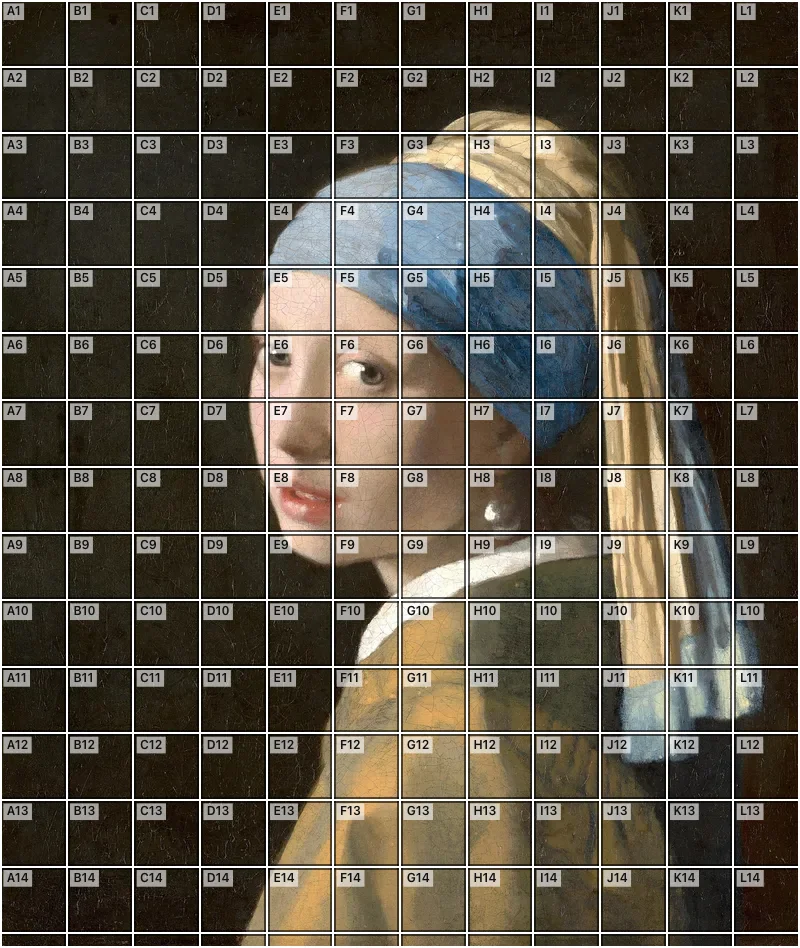
Head proportion references to check against the grid
Drawing guides give a few averages for a face seen from the front. The eyes sit halfway between the top of the head and the chin, so measure from the crown and not from the hairline. The face splits into three roughly equal bands: hairline to brow, brow to the base of the nose, and nose to chin. About one eye-width of space lies between the eyes, and the face is about five eye-widths across. The ears run from the brow line to the base of the nose.
These are averages, and real faces vary. Use them to test your drawing and not to replace the photo. With the grid, count the rows from the crown to the chin on your photo, then check that the eye line falls about halfway. If the head covers 8 rows and the eyes sit near row 4, the photo and the rule agree. If your drawing puts the eyes higher, the grid shows which row they moved in.
When the head turns: the three-quarter view
In a three-quarter view the center line of the face moves toward the far side. The closer it sits to the outline, the nearer the face is to a profile. Features on the far side go into perspective, so the outer part of the far brow is not visible.
The grid does most of this work for you. Each square holds what the photo shows, so the narrowed far side comes out right when you copy the lines. Use the half-square lines to place the far eye and the edge of the nose, where the shapes are closest together.
Common proportion mistakes
Eyes placed too high
It is easy to place the eyes too high. Check the eye line against the halfway point from crown to chin.
Checking the length of the nose
Compare the nose with the gap between the brow and the base of the nose, and with the eye next to it.
The jawline in a three-quarter view
Copy the angle where the jawline crosses each square instead of drawing it from memory.
Moving one feature to fix a tilt
When a head is tilted, shifting single features throws the rest off. Keep the squares as your guide and correct the line where it first leaves its square.
Mixing up head and full-figure units
A full-length figure is measured in heads. An average person is about 7 and a half heads tall, and an ideal figure is drawn 8 heads tall. If your photo shows the whole body, count how many rows the head covers and use that as your unit. For more on this, see proportion in art.
Use the empty sheet for practice
The second printed sheet, with squares and no photo, is a place to try an eye or a nostril before committing to your good paper. Draw the contents of a single square a few times, then move to the final page when the shapes feel right. The empty sheet also works as a template: put a thin sheet of paper over it and trace the squares for a second attempt.
Add shading after the outline
Once the outline sits correctly, erase the pencil grid gently with a soft eraser, then add tone. Use the squares on the printed photo to judge each area. Find the darkest squares, usually under the nose, in the eye sockets and under the chin, and then the lightest. Judge each square against its neighbors rather than against the whole face.
Keep a grid for later
Save the gridded picture on your phone or computer so you can return to it between sessions. To see a square large again, choose the same photo on this page and tap the square. This helps when you want to study an eyelid or a lip corner in detail. Come back to the same photo and the same square size if you want to continue a drawing another day, so your squares still match.
FAQ
Is there an online grid tool made for portrait drawing?
Yes. This page starts with a finer grid than the general photo grid. It has 5 squares across the short side on Fewer, 8 on Medium and 12 on More. Faces carry small shapes, so the extra squares make each one easier to place on paper.
How do I make a portrait using the grid method?
Put a grid over the photo, draw the same number of squares on your paper, then copy what you see in each square. Square names such as A1 help you keep your place. Work from one corner across the rows, and the portrait builds up in correct proportion.
How do I convert a photo into a grid?
Press “Choose a photo” and the picture gets the grid drawn on top right away. Nothing else is needed first. Save it as an image, or print it. The photo is read in your browser and is not uploaded.
Can I print the grid with accurate measurements on A4 or Letter?
Yes. Printing gives two sheets at true size, and each states how wide its squares are. Paper is Letter or A4 depending on your browser’s region, and Letter, A4 or A3 can be set under “Adjust grid”. Choose 100% or actual size when printing.
Can I see the grid lines on a dark or bright photo?
Yes. The tool picks dark lines for a light photo and white lines for a dark one, and each line has a soft outline. Under “Adjust grid” you can choose black, white or any color, and change the line thickness and opacity.
Can I add guide lines inside each square?
Yes. Switch on half-square guide lines under “Adjust grid”. They split every square in two each way. This helps when a feature such as an eye sits inside one square and you want to place its edge more exactly.
Updated
Related tools
 Add grid to photoAdd a grid to any photo in your browser, with no sign-up and no watermark. Get a numbered grid or a plain grid overlay, then save it or print it at true size.
- Printable grid paperGet printable grid paper with Small, Medium or Large squares. Print a sheet on Letter or A4 paper, free, with no sign-up.
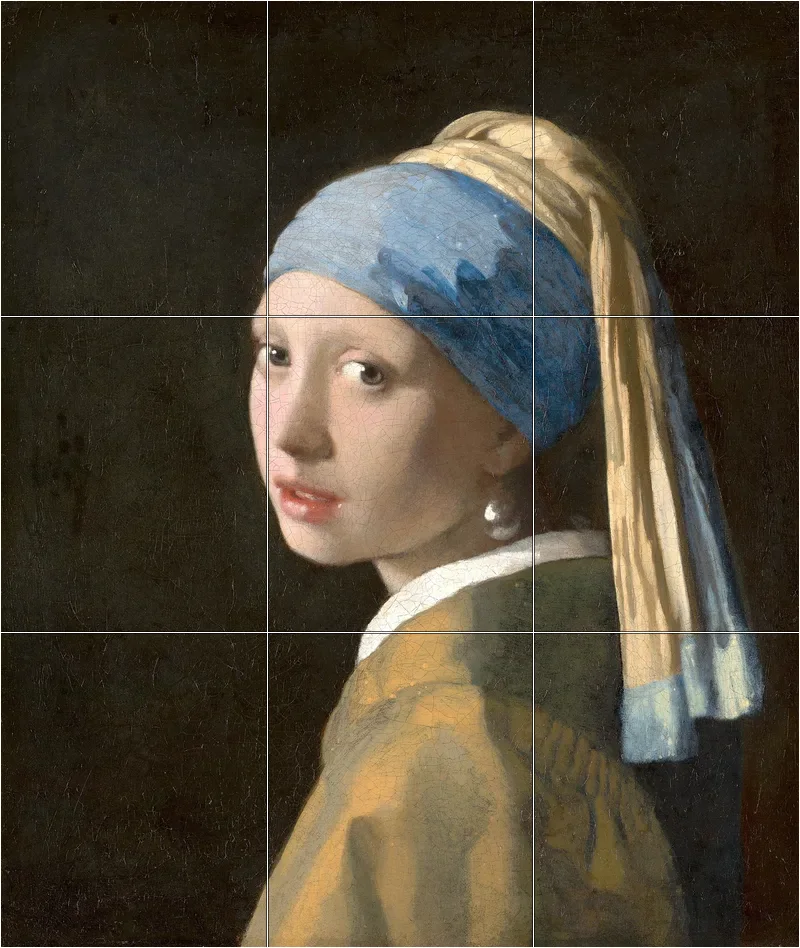 Rule of thirds gridAdd a rule of thirds grid to any photo in your browser. Choose a photo and the 3 by 3 lines appear, ready to save or print.
- 10x10 gridPrint a blank 10x10 grid with 100 squares in three sizes. Add numbers 1 to 100, then print the sheet or save it as a clear PNG.
 4 Quadrant Graph PaperPrint free 4 quadrant graph paper with bold x and y axes, numbered both ways from 0. Pick square size and paper, then save as PDF, PNG or JPG.
- 8x8 gridPrint a free 8x8 grid of 64 squares in your browser. Pick Small, Medium or Large squares, add letters and numbers, then print or save a PNG.
- Ar TracingInstead of ar tracing with a phone stand, put a numbered grid on your own photo, then save or print it and copy it square by square. Free, no sign-up.
 Aspect Ratio CalculatorUse this aspect ratio calculator to turn a width and height into a ratio like 16:9. You also get the decimal and a resize that keeps the shape.