How do I put a rule of thirds grid on my photo?
Choose a photo from your device (JPG, PNG, WebP or iPhone HEIC), or drag one onto the page on a computer.
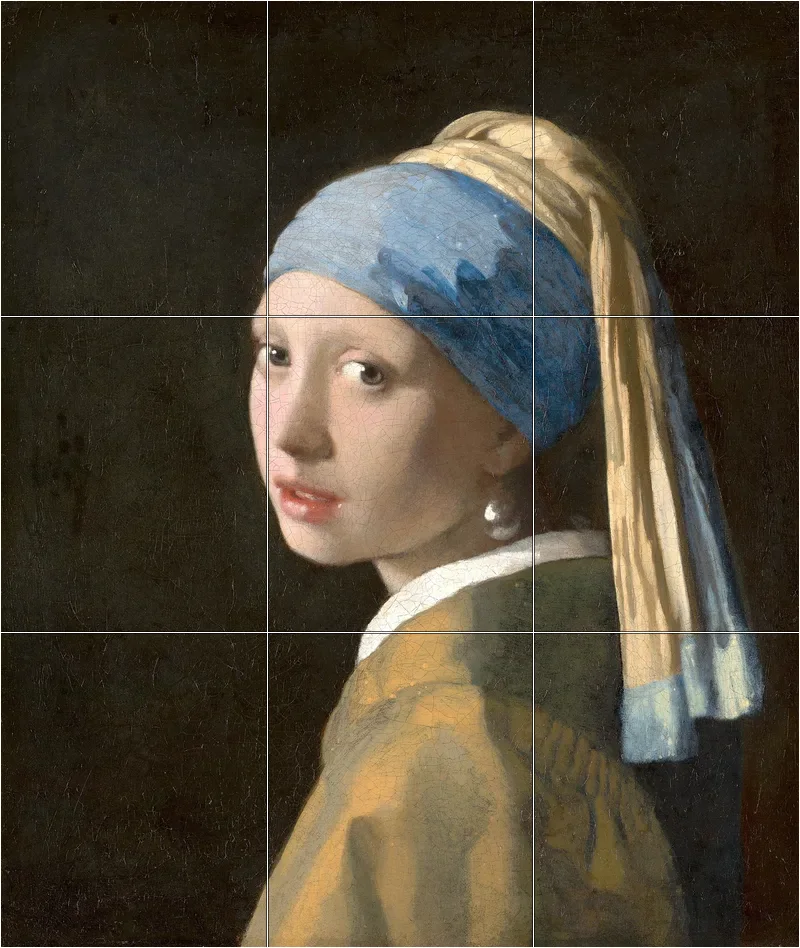
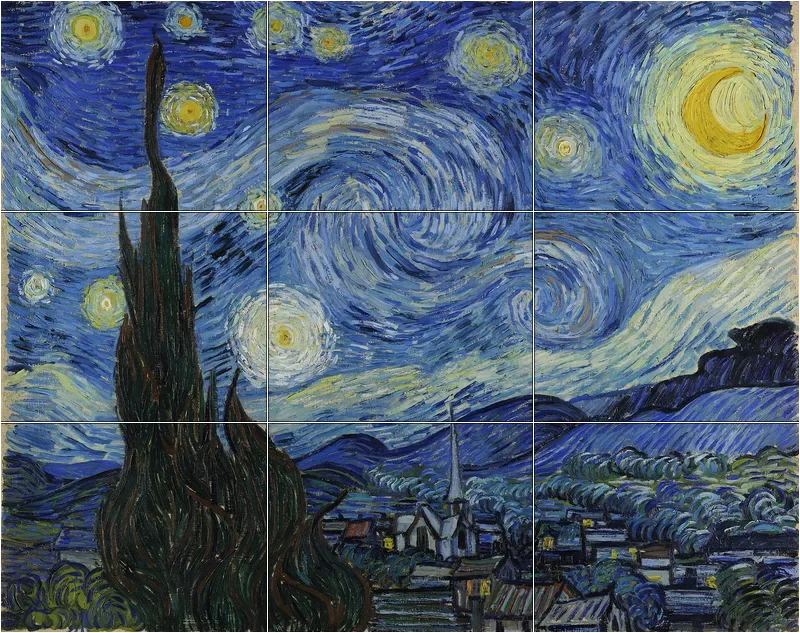
To put a rule of thirds grid on your photo, choose the picture and the grid is placed on it right away. Two vertical and two horizontal lines cut the photo into nine equal parts. The lines are thin, and their color is picked to show against your photo. Save the result as a picture or print it. The photo stays on your device, and there is nothing to install and no sign-up.
A rule of thirds grid is two vertical and two horizontal lines that divide a photo into 3 by 3 equal parts. The four points where the lines cross are the spots where a main subject usually sits well. Choose a photo here and the lines are drawn on it, ready to save or print.
How to put a rule of thirds grid on a photo
Choose a photo
Tap “Choose a photo”, then select an image in JPG, PNG, WebP or iPhone HEIC format. On a computer you can also drag the photo onto the page. A sideways photo is turned upright.
Look at the grid
The grid appears on the same page with no other step. Check where the subject, the eyes and the horizon fall against the lines and the four crossing points.
Adjust the lines if you need to
Open “Adjust grid” to change the line color, thickness and opacity, or to crop and rotate the photo. The starting lines are already chosen to suit your picture.
Save or print
Press “Save to Photos” on a phone or “Download” on a computer. Or press “Print” for two sheets at true size, and choose 100% or actual size in the print window.
Check a photo you already took
Open a finished shot and look at where the subject sits against the lines. The grid shows a centered subject at once. Look for a face dead center, a horizon halfway down or a product floating in the middle. Note which line or crossing point would suit the subject better, then reframe the next shot with that in mind. Ten old photos are enough to show your own habits.
Put the subject on a crossing point
The four crossings are good places to try first. Place the eye of an animal, the face of a child or the main object of a still life on one of them. Leave the larger share of empty space in front of the subject, in the direction it looks or moves. A cyclist on the left crossing with open road to the right feels like it is going somewhere. The same cyclist on the right crossing, facing out of the frame, feels cramped.
Set the horizon on a line
For a landscape, lay the horizon on the upper line when the ground or water holds the interest. Lay it on the lower line when the sky does. A horizon through the middle splits the picture in two and gives neither half a job. Check also that the horizon runs along the line rather than slanting across it. A straight guide line makes a tilt of even a few degrees easy to see.
Place the eyes in a portrait
Look for the eyes near the upper horizontal line. In a head-and-shoulders picture, put the nearer eye close to a crossing point. In a full-length picture, let the figure stand along one of the vertical lines instead of in the center. The space on the other side can then show the place. Group shots work the same way: line the faces up along the upper line and the picture feels tidy.
Draw from a photo, one part at a time
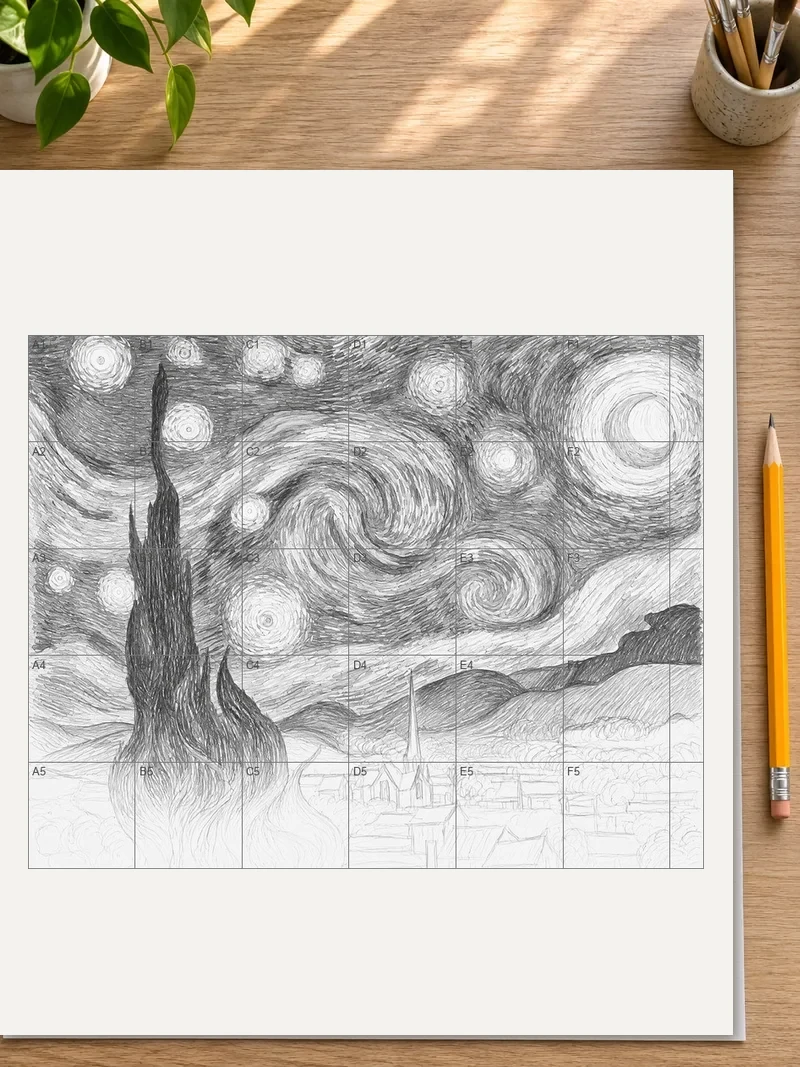
Print the two sheets and put them side by side. Look at the top-left part of the photo, then draw what you see in the top-left part of the empty grid. Move on to the next part. Each part has the same shape as the whole photo, so lengths and angles carry over without measuring.
A pet photo or a view from a trip is a good first subject. Keep the pencil light so a wrong line can be erased and redrawn without leaving a mark on the sheet.
Run a composition lesson with printed sheets
Hand out the photo-with-grid sheet and ask each student to mark where the main subject sits and where the eye travels next. Then give out the empty sheet and ask for a quick sketch of the same scene, moved so the subject lands on a crossing. Comparing the two sheets on the wall shows the effect of a small move far better than a description does. A photography club can do the same with one photo from every member.
Choose photos that show the lines well
Pick the version of the photo with a clear main subject and a plain background. A busy picture hides thin lines, while a picture with strong light and dark areas shows them clearly. Keep the full, uncropped frame when you want to judge a composition, since a cropped picture has already been decided. If a photo has two subjects, mark each one and see whether they sit on different lines or fight for the same crossing.

Use the grid before you crop
When a shot is nearly right, look at where the lines fall and decide which edge to trim. Cutting from the side with too much empty space moves the subject toward a crossing without losing it. Trim a little at a time and look again, because a large crop costs sharpness for the sake of a small gain.
Know when to leave the rule
Some pictures belong in the middle: a straight-on portrait, a tunnel running to a vanishing point, a building reflected in still water. Symmetry gets its strength from the center line, and moving the subject off it weakens the picture. Lay the grid over such a photo anyway. Seeing the subject sit exactly between the lines confirms the choice was deliberate and not an accident.
FAQ
Can I add a rule of thirds grid to a photo without uploading it?
Yes. The photo is read and drawn in your browser and is never uploaded, so no copy goes to a server. Choose a photo and the grid is drawn on it on the same page. There is no sign-up and no app to install.
Can I change the grid line color, thickness and transparency?
Yes, all three. The lines start dark on a light photo and white on a dark one, each with a soft outline so it stays visible. Open “Adjust grid” to pick black, white or any color, and to change the thickness and opacity.
How do I print a rule of thirds grid for lessons or drawing practice?
Choose a photo and press “Print”. Two sheets come out at true size: your photo with the grid on it, plus the same grid left empty for drawing. The paper is Letter or A4 by your browser’s region, and “Adjust grid” also offers A3. Choose 100% or actual size when printing.
Can I save the thirds lines on their own?
Yes. In the “Adjust grid” section, the “Blank grid” option saves the empty grid as a separate picture. Printing also gives you a second sheet with the same grid empty, so you can draw or sketch a composition on it by hand.
Where do the four crossing points of the thirds fall?
The two vertical and two horizontal lines cross at four points, each one third of the way in from two edges. Place the main subject, such as an eye or a lone tree, on or near one of those points instead of in the center.
Can I use the rule of thirds for a portrait?
Yes, it is a common guide for portraits. Put the nearer eye on or near the upper line, or close to a crossing point. Leave a little more room on the side the person faces. The grid on your photo shows where the face sits.
Rule of thirds or golden ratio: what sets them apart?
The rule of thirds uses equal parts, while the golden ratio puts lines at 38.2% and 61.8% of each side, a little nearer the center. This page starts with exactly 3 columns and 3 rows, so each part has the same shape as your photo.
Is the tool free, and does it work on an iPad or phone?
Yes to both. The tool is free and adds no watermark. It works in a browser on any phone, tablet or computer. With a phone, “Save to Photos” brings up the share sheet and the picture can be saved from there.
Which photo files can I use?
Photos in JPG, PNG, WebP or iPhone HEIC format can all be opened. A picture shot on its side is shown upright. The saved file is a JPG, or a PNG if your photo was a PNG. Under “Adjust grid” you can pick another file type.
Updated
Related tools
 Golden ratio gridAdd a golden ratio grid to any photo in your browser. Choose a photo, see the phi lines at 38.2% and 61.8%, then save or print the result.
 Add grid to photoAdd a grid to any photo in your browser, with no sign-up and no watermark. Get a numbered grid or a plain grid overlay, then save it or print it at true size.
- 10x10 gridPrint a blank 10x10 grid with 100 squares in three sizes. Add numbers 1 to 100, then print the sheet or save it as a clear PNG.
 4 Quadrant Graph PaperPrint free 4 quadrant graph paper with bold x and y axes, numbered both ways from 0. Pick square size and paper, then save as PDF, PNG or JPG.
- 8x8 gridPrint a free 8x8 grid of 64 squares in your browser. Pick Small, Medium or Large squares, add letters and numbers, then print or save a PNG.
- Ar TracingInstead of ar tracing with a phone stand, put a numbered grid on your own photo, then save or print it and copy it square by square. Free, no sign-up.
 Aspect Ratio CalculatorUse this aspect ratio calculator to turn a width and height into a ratio like 16:9. You also get the decimal and a resize that keeps the shape.
- Atmospheric PerspectiveAdd a numbered grid to a photo and compare near and far squares to see atmospheric perspective: lighter values, softer color. Free, in your browser.