How do I put a golden ratio grid on my photo?
Press “Choose a photo” and select an image in HEIC (iPhone), WebP, PNG or JPG format, or on a computer drag one onto the page.
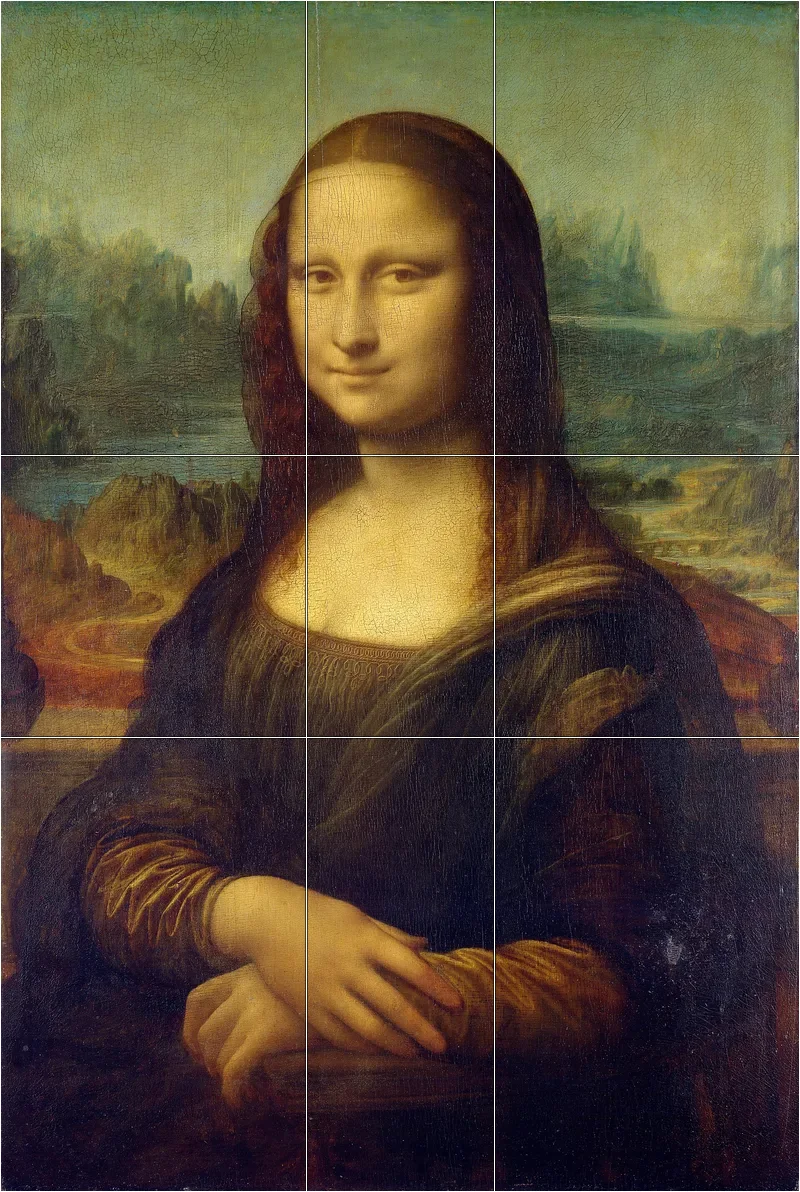
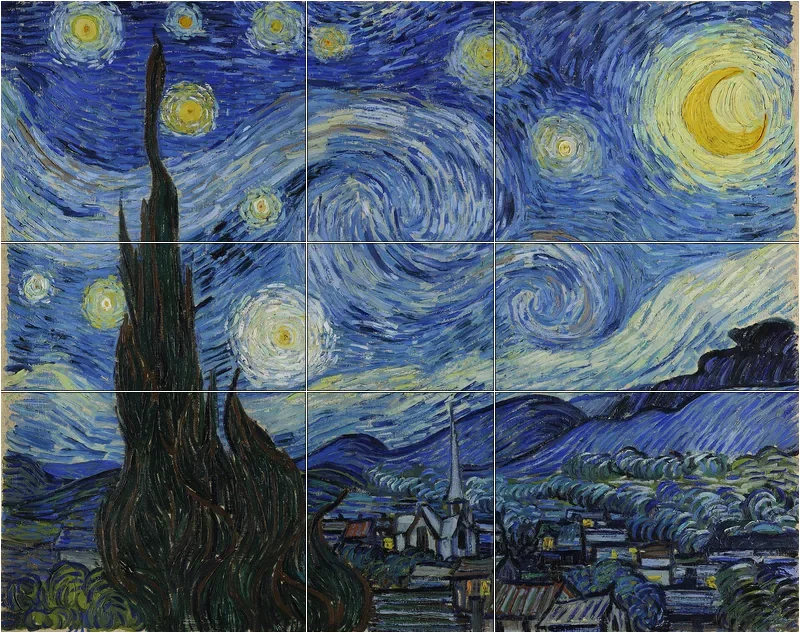
To put a golden ratio grid on your photo, press “Choose a photo” and pick the picture. The grid appears on it right away: two vertical and two horizontal lines placed at 38.2% and 61.8% of each side. Download the image or print it at true size. The photo stays on your device, and there is nothing to install and no account to open.
Choose a photo, and the golden ratio grid is drawn over it as thin straight lines at 38.2% and 61.8% of the width and height. Those positions come from the golden ratio, about 1.618 to 1. Save the picture or print it when the lines show what you wanted to see.
How to put a golden ratio grid on a photo
Choose a photo
Press “Choose a photo” and select an image in HEIC (iPhone), WebP, PNG or JPG format stored on your device. With a computer, the photo can also be dragged onto the page.
Look at the lines
The golden ratio grid appears on the same page at once. Two vertical lines and two horizontal lines meet at four points, which shows how the subject and horizon are placed.
Adjust the lines if needed
Use “Adjust grid” to set line color, thickness or opacity, rotate or crop the photo, or pick the paper size for printing.
Save or print
On a phone press “Save to Photos”; on a computer press “Download”. For paper, press “Print” and pick 100% or actual size when the print window opens.
Who gets the most from a golden ratio grid
Landscape photographers use the lines to judge where a horizon sits. Portrait photographers check whether the eyes fall near one of the horizontal lines. Painters and illustrators lay the lines over a reference photo before the first sketch. Designers placing a photo behind a headline see where the quiet areas lie. Teachers use a printed sheet to ask students where the eye goes first. All of these readers want the same thing: a plain, quick look at where the weight of a picture sits.
Pick a photo that shows the idea clearly
Start with a picture whose main subject is easy to name: one tree, one face, one boat. A scene with many competing subjects gives the lines nothing to hold on to. Use the uncropped original when you have it, because the lines are measured from the edges. A photo already trimmed tight leaves little room to move anything.
Read the lines as bands and crossings
The two vertical lines cut the picture into three bands. The outer two are equal in width and the middle band is narrower. The two horizontal lines do the same from top to bottom. Where a vertical and a horizontal line meet, you get one of four crossing points. Those four points are the places to test first. Ask whether the subject, or the most important detail of the subject, sits near one of them.
Horizons
A horizon along the upper line gives the ground or water more room. A horizon along the lower line gives the sky more room. Ask which of the two the picture is about, then see which line the horizon is closer to. A horizon that sits between the lines, near the middle, often reads as undecided.
Portraits
Look at the eyes. In a head-and-shoulders portrait they often work well on or just above the upper horizontal line. Then check the direction of the gaze. A person looking toward the larger open side of the frame has space to look into. A person looking toward the near edge can feel cramped.
Single objects
Think of a lone lighthouse, a cup on a table or a bird on a branch. Place the object on or near a vertical line, with its most interesting part near a crossing. The rest of the frame then holds the open space around it.
Compare it with a rule of thirds grid
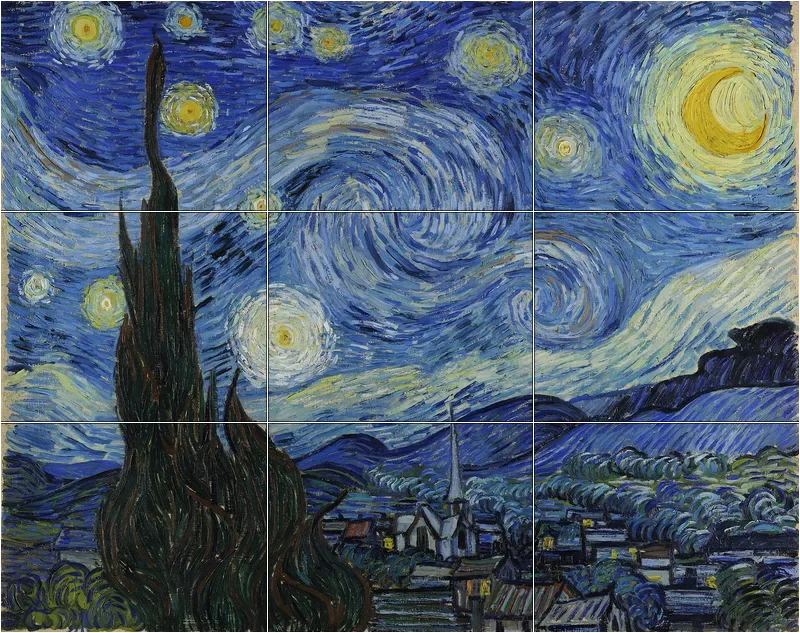
Run the same photo through a rule of thirds grid and put the two results next to each other. Phi lines sit closer to the center than thirds lines. A subject that touches a thirds line often falls just outside the nearest phi line. The gap is small. Judge it by eye and keep the version where the picture feels settled. If both grids agree, the placement is solid.
Trim a photo with the lines in mind
Before cropping in an editing program, note where the subject sits against the four lines. When you trim, move one edge at a time and watch the subject drift toward a crossing point. Trim from one side when you want to shift the subject. Stop when the horizon or the eyes reach a line, and keep the original file untouched.
Use the printed sheet for drawing and painting
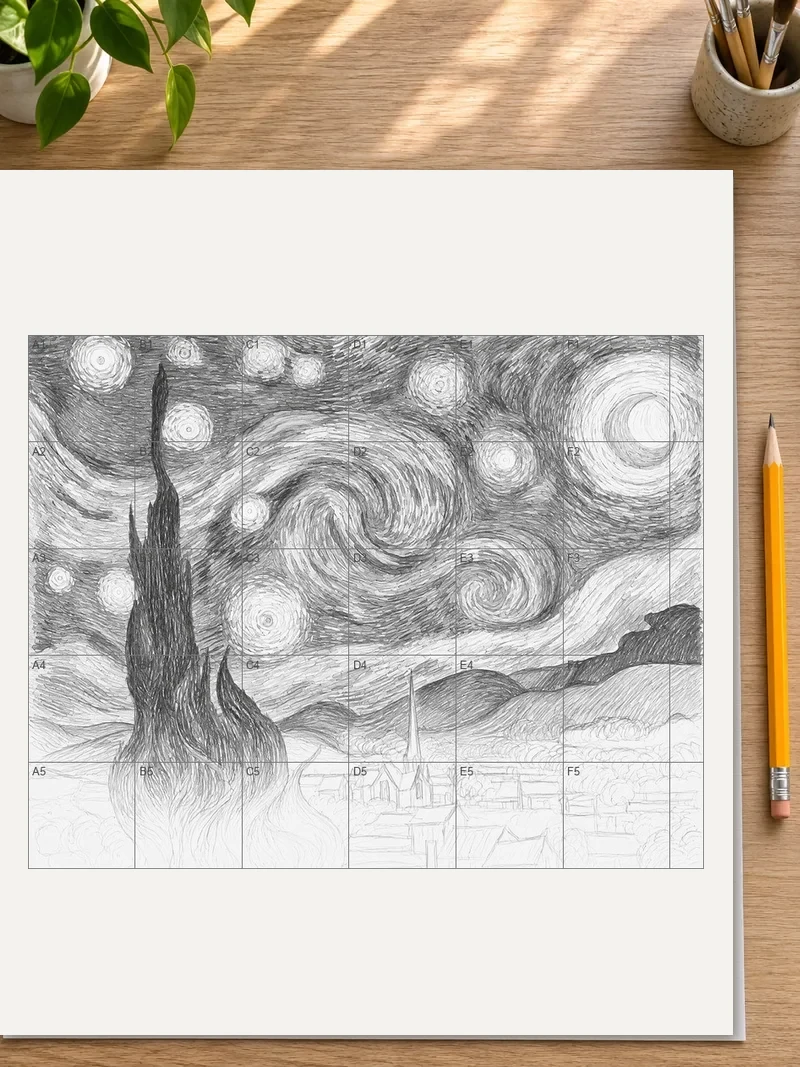
Tape the printed photo beside your canvas or sketchbook. On the canvas, mark the same four lines. Measure 38.2% and 61.8% of the width from the left edge, then the same percentages of the height from the top edge. Join the marks lightly with a ruler and a pencil line you can erase. Block in the main shapes. Check where each one crosses a line on the reference, then draw it crossing the matching line on the canvas.
Review a set of your own photos
Go through a folder of your pictures one at a time and note where each horizon and each subject lands. After a good number of frames a pattern shows up. Perhaps every horizon runs through the middle, or every face sits dead center. Once you know the habit, change it on the next outing. Step a little to one side or tilt the camera before you press the shutter.
Famous works and the golden ratio
The evidence differs from one famous work to the next. Salvador Dalí explicitly used the golden ratio in The Sacrament of the Last Supper. Its canvas is a golden rectangle, and a huge dodecahedron hangs above the scene with its edges in golden ratio to one another. Le Corbusier also used the ratio on purpose, in his Modulor system for the scale of architectural proportion.
Other claims are repeated often and have little behind them. The idea that the Mona Lisa uses golden ratio proportions is not supported by Leonardo’s own writings. Vitruvian Man is often shown with the ratio, but its proportions do not match it, and the text mentions only whole-number ratios. For the Parthenon, one scholar writes that the repeated assertion “is not supported by actual measurements”. A 1999 study of 565 paintings by great painters found that their canvases averaged a ratio of 1.34 between the two sides, not 1.618.
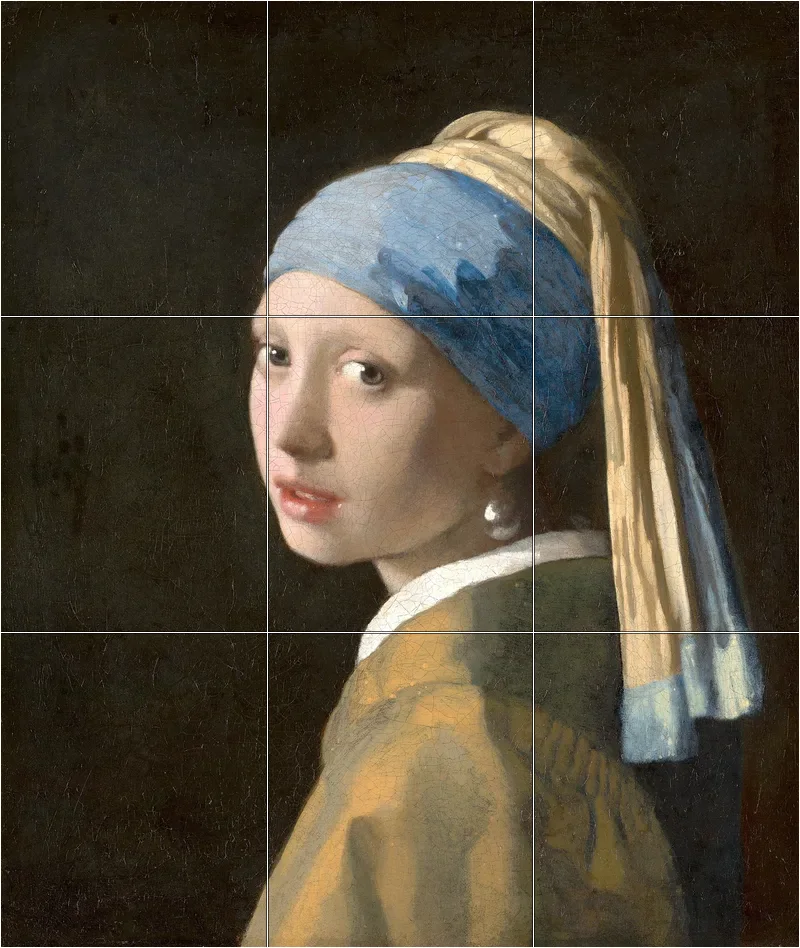
The sample of the Mona Lisa above shows where the lines fall over a famous picture. It does not show that the painter planned them. Use the grid to look at a picture, and treat any claim that a masterpiece was built on it as a story to check. To get the exact positions of the four lines on a canvas, use the golden ratio calculator.
Phi in nature: what holds up and what is a myth
One link to plants is well supported. The golden angle, about 137.5 degrees (360 degrees divided by phi squared), occurs in patterns of plant growth. It is described as the optimal spacing of leaf shoots around a stem, so that successive leaves do not block sunlight from the leaves below them.
Many other examples are weaker. Nautilus shells are often said to follow the golden ratio. Their growth follows a logarithmic spiral, but not every logarithmic spiral is golden, and measurements of nautilus shells do not support the claim. The same goes for body proportions. The ratio of finger bones is often said to be golden, yet real measures vary a great deal and are often far from 1.618.
This grid draws straight lines and no spiral. It marks where 38.2% and 61.8% fall on your photo, and leaves you to judge the picture.
Treat the grid as a prompt
The lines are a way to ask a question, not a rule that has to be obeyed. A symmetrical building or a reflection in still water may be strongest with the subject right in the middle. Use the grid to see what the picture is doing, decide whether that is on purpose, and keep what works.
Talk about a picture with a group
A camera club or a class can put the same photo on a screen with the lines on it. Ask each person to point to the first thing they notice and to say where it falls against the lines. The answers usually differ, and the lines give everyone the same vocabulary: “on the upper line”, “near the right crossing”, “inside the left band”. Comparing those answers is a quick way to see how a frame is read.
FAQ
Is there a free online tool to overlay a golden ratio grid on a photo?
Yes. It is free, adds no watermark and works in the browser on computers, tablets and phones. Press “Choose a photo” and the phi grid appears over it on the same page. There is nothing to install and no sign-up.
How do I put golden ratio lines on a photo?
Place one vertical line at 38.2% of the width and another at 61.8%, then do the same for the height. The numbers come from the golden ratio, about 1.618 to 1. This page draws those four lines over your photo for you.
Does the photo get uploaded anywhere?
No. Your browser reads and draws the photo, which never leaves your device. The grid is drawn on it locally, and the saved or printed picture is made on your device too.
How is a phi grid different from the rule of thirds?
Both use two vertical and two horizontal lines, which cross at four points. The difference is where the lines sit. Phi lines are at 38.2% and 61.8%, so they lie closer to the center of the picture than thirds lines do.
Is the golden spiral included?
No. This page draws straight lines only, with no spiral, and no square names unless you switch them on under “Adjust grid”. The grid is the set of lines at 38.2% and 61.8% of each side, so you can judge placement by eye.
The lines vanish over a bright photograph. What do I change?
Open “Adjust grid” and pick black, white or any color for the lines. You can also make them thicker or raise their opacity. Each line has a soft outline, and the starting color is chosen to suit how light or dark the photo is.
Does this work on an iPad or a phone?
Yes. It works on computers, tablets and phones, right in the browser. Tapping “Save to Photos” on a phone brings up the share sheet, and the image can be saved from there. On a computer the button is “Download”.
What size is the saved picture?
A free file is at most 1500 pixels along the longer edge. With Pro the photo keeps its own full size, as large as 16 megapixels. It is a JPG, or a PNG if your photo was a PNG. Under “Adjust grid” you can also pick JPG, PNG or WebP as the file type.
Can I print the grid?
Yes. “Print” gives two sheets at true size: the photo carrying its grid, followed by the same grid left empty for drawing on. Paper is Letter or A4 by region, and you can switch to A3. Choose 100% or actual size when printing.
Can I save the grid without the photograph?
Yes. In “Adjust grid”, choose “Blank grid” to save the empty grid as a separate image. The printout also includes a second sheet with the empty grid.
Updated
Related tools
- Rule of thirds gridAdd a rule of thirds grid to any photo in your browser. Choose a photo and the 3 by 3 lines appear, ready to save or print.
 Add grid to photoAdd a grid to any photo in your browser, with no sign-up and no watermark. Get a numbered grid or a plain grid overlay, then save it or print it at true size.
- 10x10 gridPrint a blank 10x10 grid with 100 squares in three sizes. Add numbers 1 to 100, then print the sheet or save it as a clear PNG.
 4 Quadrant Graph PaperPrint free 4 quadrant graph paper with bold x and y axes, numbered both ways from 0. Pick square size and paper, then save as PDF, PNG or JPG.
- 8x8 gridPrint a free 8x8 grid of 64 squares in your browser. Pick Small, Medium or Large squares, add letters and numbers, then print or save a PNG.
- Ar TracingInstead of ar tracing with a phone stand, put a numbered grid on your own photo, then save or print it and copy it square by square. Free, no sign-up.
 Aspect Ratio CalculatorUse this aspect ratio calculator to turn a width and height into a ratio like 16:9. You also get the decimal and a resize that keeps the shape.
- Atmospheric PerspectiveAdd a numbered grid to a photo and compare near and far squares to see atmospheric perspective: lighter values, softer color. Free, in your browser.