How do I make a pixel art grid to print?
A4 paper. 32 squares across and 46 down, a darker line every 8.
Make a pixel art grid by choosing 16, 32 or 64 squares across, then print the blank sheet. The sheet appears on the page with as many whole rows as fit. Darker lines at regular intervals help you count. Print on Letter or A4 paper, or save a PDF, PNG or JPG. It needs no sign-up and costs nothing.
More settings
Pick how many squares run across the page, and your pixel art grid is ready to print. The sheet starts at 32 across and fills the page with whole rows. A darker line at regular intervals helps you count without losing your place.
How to print a pixel art grid
Pick the squares across
Choose 16, 32 or 64 squares across the page. The sheet starts at 32 and redraws each time you change the size.
Check the paper
The page size starts on Letter or A4, whichever suits your region. Open “More settings” for A3, Legal, a square page, page direction, line width or space around the edge.
Print or save the sheet
Press “Print pixel grid” for a paper copy, or keep a file with “Save as a PDF”. “Save as a PNG” and “Save as a JPG” are under “More settings”.
Count and fill the squares
Count along the darker lines, mark your outline in pencil first, then color the squares one by one until the picture appears.
Who reaches for pixel grid paper
Pixel art grid paper suits anyone who wants to plan a small picture one square at a time. Hobby artists use it to sketch game sprites and icons before moving to a screen. Teachers hand sheets out for symmetry lessons, and crafters use them to chart a pattern for stitching or beads. Printing a sheet and holding a pencil gives you a slower, more deliberate way to decide where each color goes.
Plan the picture before you pick a size
Start with a rough idea of the subject. A heart, a mushroom, a sword, a face, a simple animal: shapes with a clear outline work best. Draw the shape small on scrap paper first, in plain thick strokes, and notice how many details you need.
Every detail has to fit inside a square, so fine lines such as whiskers or eyelashes usually have to go. Decide on a short list of colors before you begin. A small palette keeps the finished picture clean and stops the drawing from looking messy.
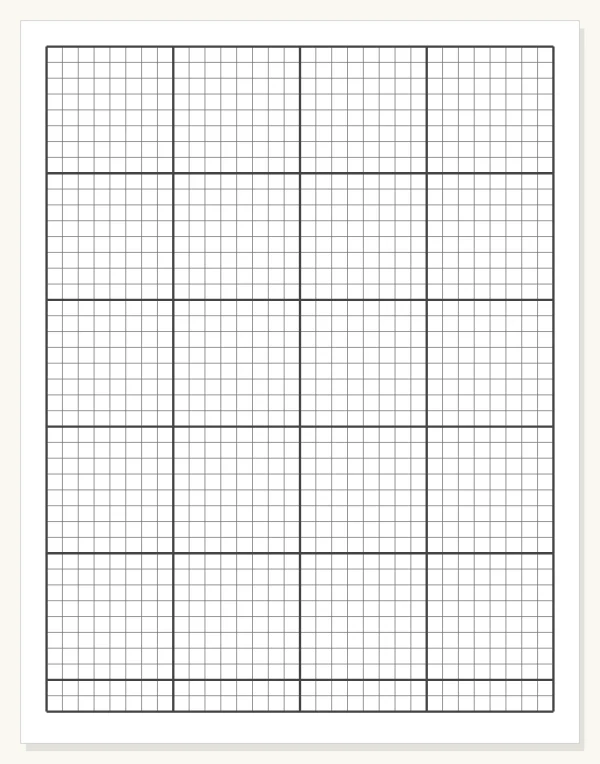
32 across: a darker line every 8 squares.
Choose how many squares across
The number of squares across decides how much detail the picture can hold.
16 across
Choose 16 for icons, symbols, letters and bold single objects. The squares are large, so they are easy to color with markers or crayons, and young children can fill them without crossing the lines.
32 across
Choose 32 for a character with a face, a small scene or a sprite with a few details. This is the middle ground, with room for shading but still big enough to color comfortably with a pencil.
64 across
Choose 64 for a detailed scene or a larger character. The squares are small, so work with a sharp pencil or a fine pen and keep a steady hand. Print on good paper, because tiny squares are hard to read on a faint copy.
Count with the darker lines
Before coloring, find the middle of your drawing. Count along the darker lines to the center, then mark it lightly.
Symmetrical pictures such as faces, shields, butterflies and spaceships are far easier in halves. Draw one half, then mirror it by counting the same number of squares on the other side. For a long straight edge, count the blocks first and the single squares after. That way a line that should be level does not drift by one square.
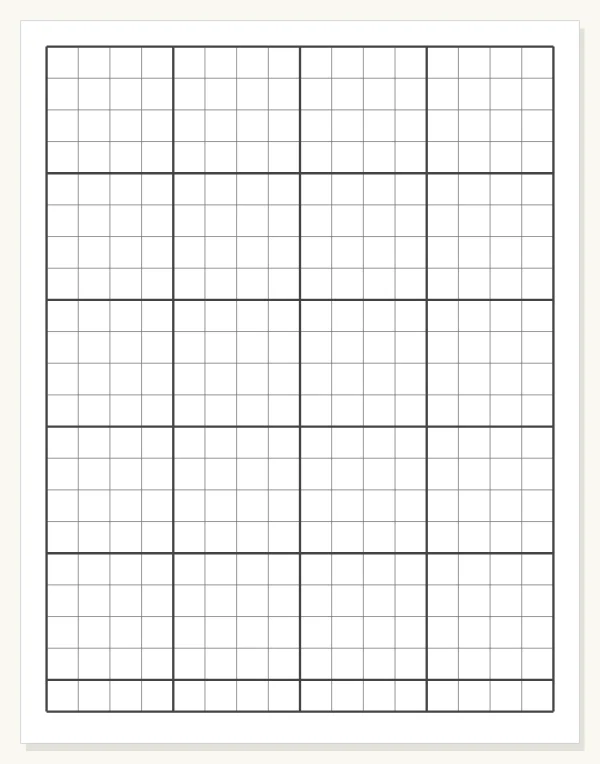
16 across: big squares, a darker line every 4.
Outline first, then fill
Use a light pencil for the outline. Mark only the edge squares, step back and check the shape, then erase anything that looks off. Once the outline reads well, fill the inside with color.
Work from the lightest color to the darkest so smudges do not spoil the pale areas. If you use markers, test a color on the margin first. Ink can soak into thin paper and show through on the back of the sheet.
Print more than one copy
Print a spare sheet or two before starting. The first copy can hold a rough layout in pencil, the second a clean final version. A spare is also handy for trying out colors, and a fresh sheet lets you start again if an idea changes halfway. If you save the sheet as a PDF, you can reprint the same size whenever you need another.
Use the sheet with a group
Hand every person the same sheet and the same theme, such as a food, an animal or a letter of the alphabet. Compare the results afterward, and you will see how different the pictures are. For a team project, agree on the number of squares across first. Then give each person one part of the scene to draw, such as a tree, a house or a character. Because every sheet has the same square size, the finished pieces can be laid side by side and compared.
One sheet size for everyone keeps the pieces comparable.
Work from a photo reference
To copy a real photo instead of inventing a shape, put a grid on the photo itself. Then copy it square by square onto this sheet. Match the squares across on both so the proportions stay true. A photo with strong shapes and little background copies better than a busy one. Every detail you keep must become a whole square of color.
Keep finished sheets
Write the date and the square count on the back of each finished sheet. Next time you want a similar picture, you can pick the same number across and compare your drawings side by side. A folder of completed sheets also shows how your choices of size and palette have changed over time.
FAQ
What is the easiest way to get a pixel art grid on paper?
Choose how many squares you want across, then press print. Your region decides whether it starts on Letter or A4, and it costs nothing and needs no download.
Can I make a 16x16 pixel grid?
The 16 option gives 16 squares across, with as many whole rows as fit the page, so the sheet usually has more rows than columns. When the rows must match the columns exactly, the square grid maker lets you type both counts.
What are the darker lines on the sheet for?
Darker lines mark every 8 squares, or every 4 squares on the 16 across sheet. Counting in blocks is quicker than counting single squares. The marks also make it easy to find a spot again when you return to the drawing.
Can I save the grid instead of printing it?
Yes. Use “Save as a PDF”, or open “More settings” for “Save as a PNG” and “Save as a JPG”. The saved file holds the same sheet you see on screen, in the paper size chosen for your region unless you change it.
Which paper sizes can I use?
Letter, A4, A3, Legal and a 21 cm square page are all available. Open “More settings” to switch from the size picked for you. The same panel sets page direction, line width and space around the edge, so the sheet can match the paper you have at hand.
How do I do the grid method in art with a photo?
Put a numbered grid on your photo, then draw the same squares on your paper and copy one square at a time. The add grid to photo tool does the first part, and the grid calculator works out square sizes for a larger canvas.
Can I use the sheet to chart a crochet or bead pattern?
You can, if plain squares suit your pattern. The sheet is an even field of squares to color by hand, so each square can stand for one stitch or one bead. Pick a size that leaves room to shade or write a symbol. For crochet there is also crochet graph paper, with one cell per stitch and a darker line every 10.
Updated
Related tools
- 10x10 gridPrint a blank 10x10 grid with 100 squares in three sizes. Add numbers 1 to 100, then print the sheet or save it as a clear PNG.
 4 Quadrant Graph PaperPrint free 4 quadrant graph paper with bold x and y axes, numbered both ways from 0. Pick square size and paper, then save as PDF, PNG or JPG.
- 8x8 gridPrint a free 8x8 grid of 64 squares in your browser. Pick Small, Medium or Large squares, add letters and numbers, then print or save a PNG.
 Add grid to photoAdd a grid to any photo in your browser, with no sign-up and no watermark. Get a numbered grid or a plain grid overlay, then save it or print it at true size.
- Ar TracingInstead of ar tracing with a phone stand, put a numbered grid on your own photo, then save or print it and copy it square by square. Free, no sign-up.
 Aspect Ratio CalculatorUse this aspect ratio calculator to turn a width and height into a ratio like 16:9. You also get the decimal and a resize that keeps the shape.
- Atmospheric PerspectiveAdd a numbered grid to a photo and compare near and far squares to see atmospheric perspective: lighter values, softer color. Free, in your browser.
- Bargue DrawingPractice Bargue drawing from your own photo: add a numbered grid with 5, 8 or 12 squares across, then save it or print a gridded sheet and an empty one.